A few weekends ago I decided to make a pretty pinboard for my new studio/craft-room/free-pass mess-zone. I invited the cousin over to come and make one with me too. Here's how it went down...
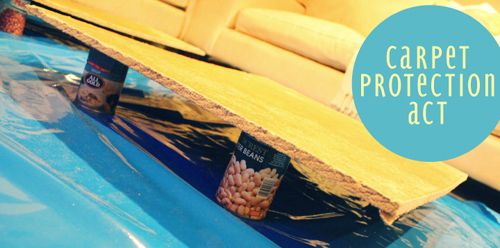
First we got two big pieces of chipboard from the hardware store. Then laid out some plastic sheeting at home - and put the boards on tin cans so that we could paint it easily.
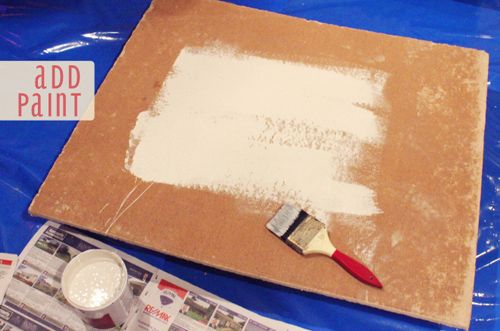
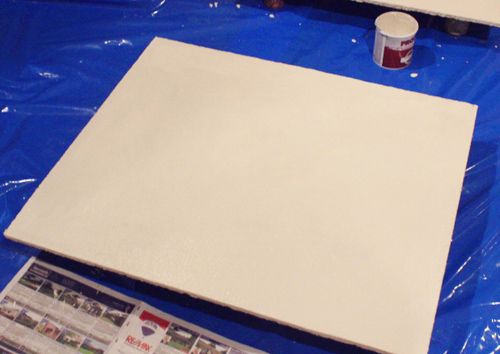
Next we painted the boards with a cream coloured base coat. We used Acrysilk Pastel base coat.
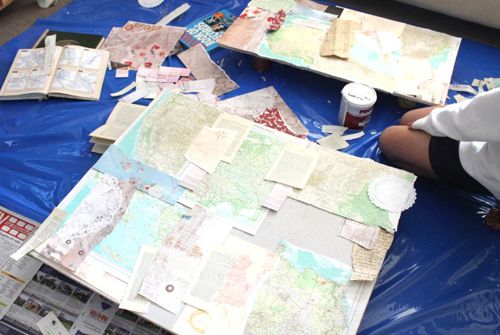
I wanted the boards to have a vintage-layered type vibe- so we cut-up, tore-out and mashed up old books, scrapbook papers, dictionaries, doilies and old maps. We laid all the scraps onto our boards until it was all covered and we were happy with the layout.
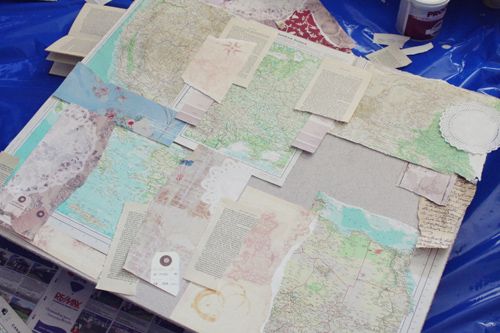
Once we were happy with each of our boards we used a watered down wood glue as a replacement for mod podge to glue everything onto the boards. The watered down glue works just fine - make sure that your mixture of water to glue is thin enough to be easily spreadable, but not so thin so that you are only painting water onto your board. Once everything was stuck down we painted the entire board with a new layer of the glue solution.
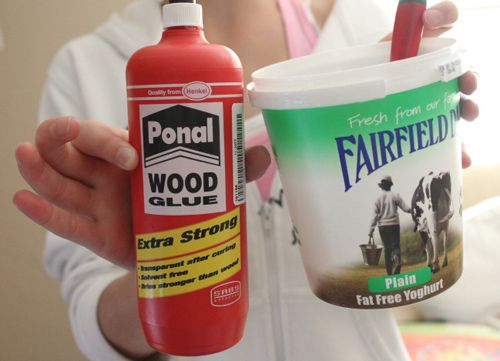
(we mixed it in the yoghurt tub. we didn't actually paint yoghurt on. in case anyone was wondering.)
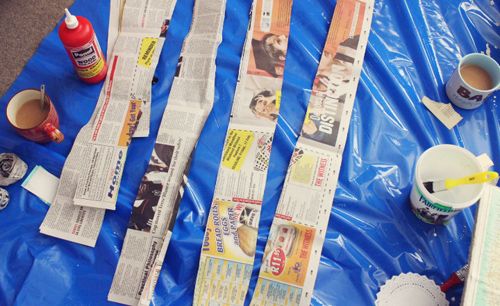
While we were waiting for the glue to dry we started making newspaper roses for the boarder-frame of our pinboards. Start by cutting long strips of newspaper as above. Next take two long strips and glue them together to make one very long strip - like below:
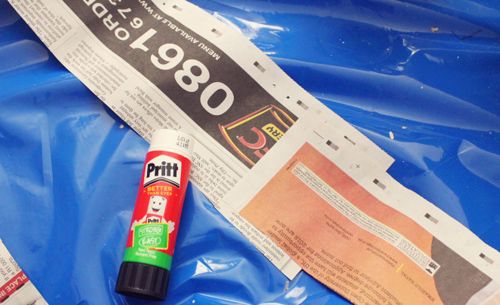
Once you have a long newspaper strip, fold it in half lengthways. Then fold each side into the centre and fold it in half again, so that you have the same length of newspaper but it is double reinforced.
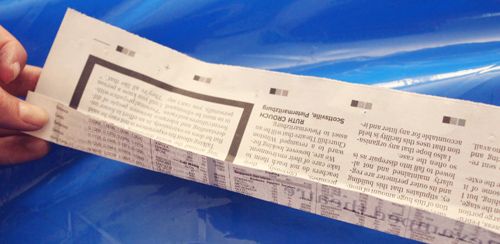
The next step is to take the length of newspaper and starting from one end scrunch/pinch it together a little and then start rolling the newspaper around itself keeping it flat. Every so often carefully twist the newspaper around so that it creates a fold in your flower and keep going. I found that I didn't really need any glue at all while I was rolling up the roses because the newspaper is thick enough to hold itself together. Once the rose is complete (ie the newspaper strip has come to an end) then you can use some glue water solution just to dab into the rose to help hold it all in place. When the glue has dried you can paint them -
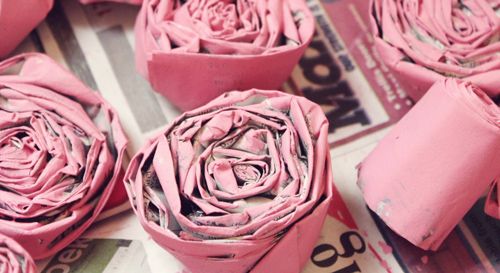
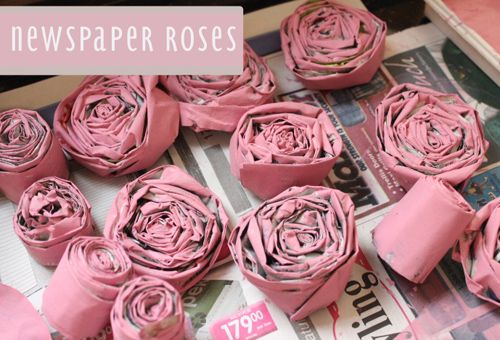
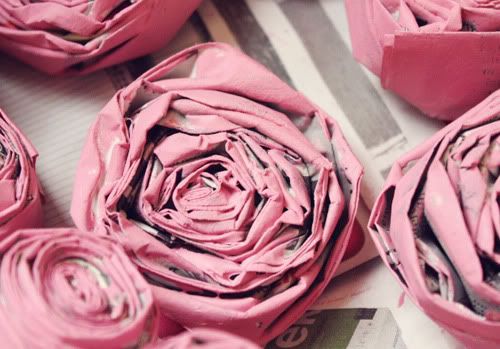
The roses actually look really pretty when you leave a little bit of the newspaper showing through and help to give a little bit of depth.
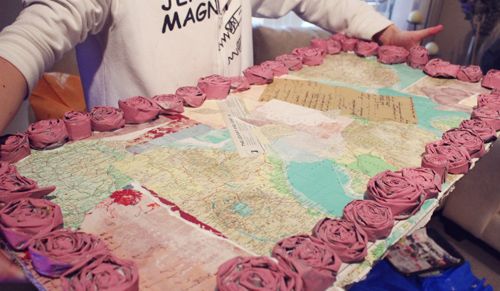
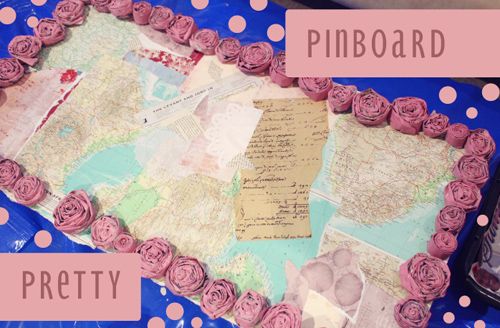
The pinboard above is my cousins, which should hopefully be hanging up in her room by now! :)
First we got two big pieces of chipboard from the hardware store. Then laid out some plastic sheeting at home - and put the boards on tin cans so that we could paint it easily.

(this picture is really orange. I don't know what i was thinking.)

Next we painted the boards with a cream coloured base coat. We used Acrysilk Pastel base coat.

I wanted the boards to have a vintage-layered type vibe- so we cut-up, tore-out and mashed up old books, scrapbook papers, dictionaries, doilies and old maps. We laid all the scraps onto our boards until it was all covered and we were happy with the layout.


Once we were happy with each of our boards we used a watered down wood glue as a replacement for mod podge to glue everything onto the boards. The watered down glue works just fine - make sure that your mixture of water to glue is thin enough to be easily spreadable, but not so thin so that you are only painting water onto your board. Once everything was stuck down we painted the entire board with a new layer of the glue solution.

(we mixed it in the yoghurt tub. we didn't actually paint yoghurt on. in case anyone was wondering.)

While we were waiting for the glue to dry we started making newspaper roses for the boarder-frame of our pinboards. Start by cutting long strips of newspaper as above. Next take two long strips and glue them together to make one very long strip - like below:

Once you have a long newspaper strip, fold it in half lengthways. Then fold each side into the centre and fold it in half again, so that you have the same length of newspaper but it is double reinforced.

The next step is to take the length of newspaper and starting from one end scrunch/pinch it together a little and then start rolling the newspaper around itself keeping it flat. Every so often carefully twist the newspaper around so that it creates a fold in your flower and keep going. I found that I didn't really need any glue at all while I was rolling up the roses because the newspaper is thick enough to hold itself together. Once the rose is complete (ie the newspaper strip has come to an end) then you can use some glue water solution just to dab into the rose to help hold it all in place. When the glue has dried you can paint them -


The roses actually look really pretty when you leave a little bit of the newspaper showing through and help to give a little bit of depth.

Next we used neat glue to stick the roses onto the pinboard as a frame.
et voila!

The pinboard above is my cousins, which should hopefully be hanging up in her room by now! :)

Love the roses. I'm going to attempt some...wish me luck!
ReplyDeleteI love the roses, it looks great
ReplyDelete