Having a rich and vibrant colour scheme for our wedding made all the planning and decision making so much fun. I didn't allow myself to get bogged down with "this blue doesn't match that blue" and "that's the wrong pink". I adopted a very easy-going all-colours-welcome-to-the-party approach. Going with the Moroccan vibe, I wanted a warm colour palette of golds/coppers and bronzes with bright pops of colour. Initially I wanted the bridesmaids in different brights with the flower girls in bronzes and coppers and golds. But I switched it around because golds/coppers/bronzes are more mature colours and more difficult for little ones to wear. (In the end I also ended up changing the bridesmaids colours but more on that to come).
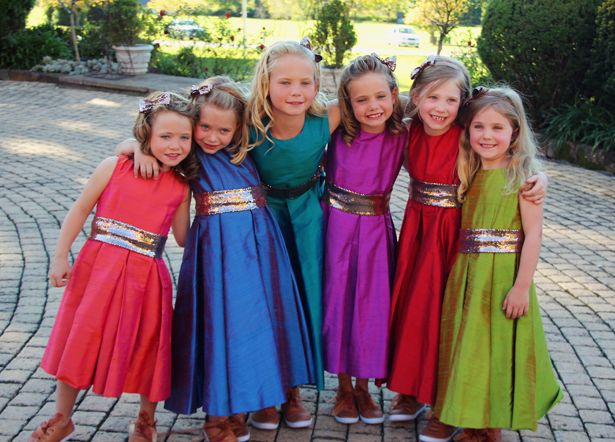
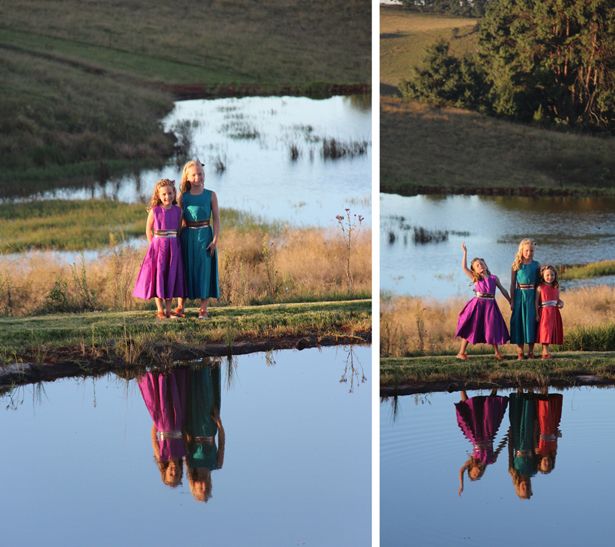
For each of the flower girls we chose different co-ordinating raw silk fabrics. Raw silk is the most gorgeous fabric because it has such rich undertones which catch the light beautifully. It is also very easy to co-orinate different raw silks together because the undertones of one raw silk highlight the lights or darks in the second fabric. You can see what I mean in this picture -
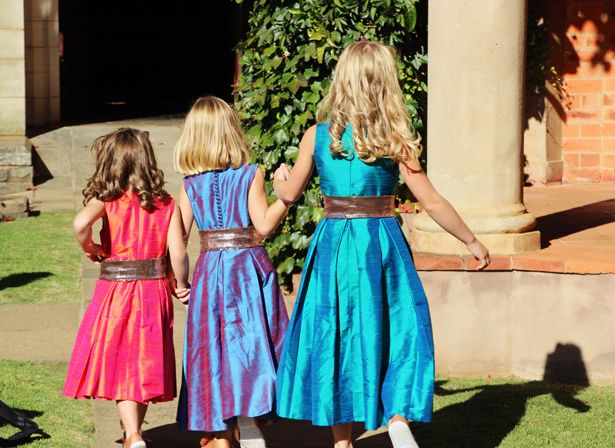
{The dress in the middle is in no way pink or red at all. But standing next to the pink dress on the left - it picks up the red/pink tones it in. As does the pink dress pick up the yellow/orange tones of the goldy dresses and as does the turquoise dress pick up... you get the idea.}
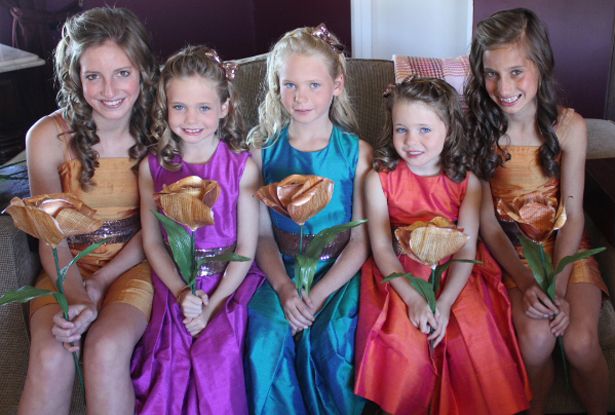
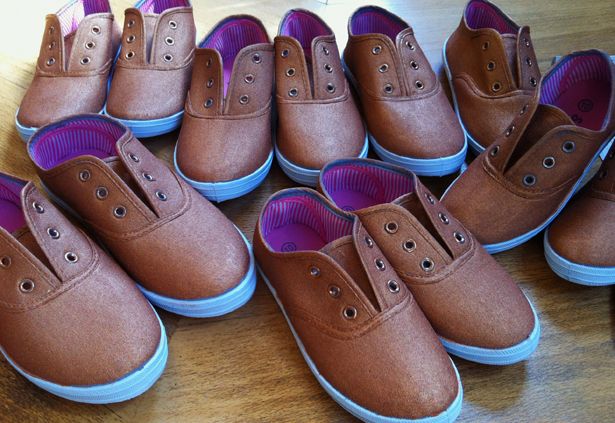
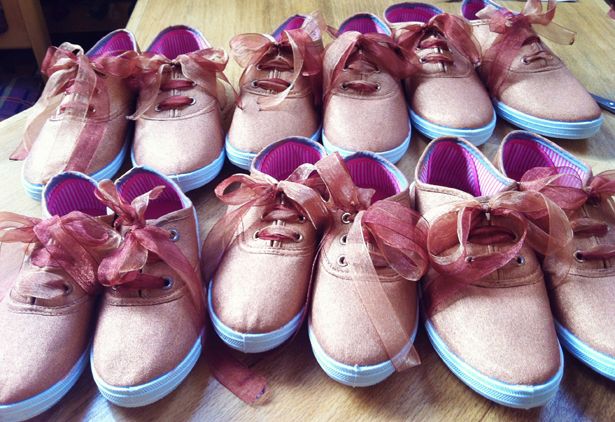
To tie all the bright colours together, all the flower girls and junior bridesmaids were given the same accents of golds, bronzes and coppers. Each lovely little lady was given a bronze paper flower, coppery/bronze sequin waist belts (which my dad sewed. Yes, my dad) and a bronze sequin head bow which I made using left over belt material. I also wanted to give them matching coppery/bronze shoes - which are impossible to find (in 6 different kid sizes) - so, I painted them.
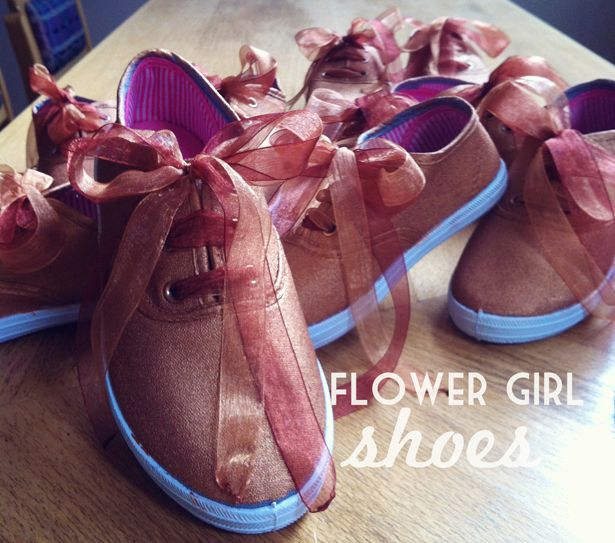
If you have been reading indieBerries for a while you may recognise this DIY from a tutorial I posted a while back on DIY Chevron Shoes. (And yes, they are still going strong, I wore them yesterday).
Painting your own shoes is super easy - all you need is
- the paint you want (preferably fabric paint - but since this is a "once off purpose" I wasn't too bothered about using fabric paint specifically.
- paint brush
- shoes. (obviously)
- If you are worried about messing on your shoes, you may wish to use some tape like I did in the last tutorial (above) otherwise, just go for it!
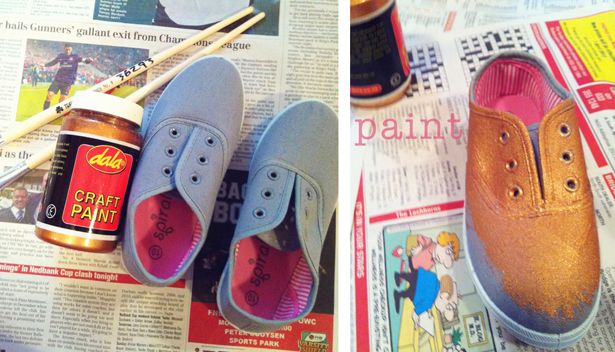
I chose a bronze paint for the shoes - and surprisingly, even though the original shoes were grey, they only really needed one coat of paint.
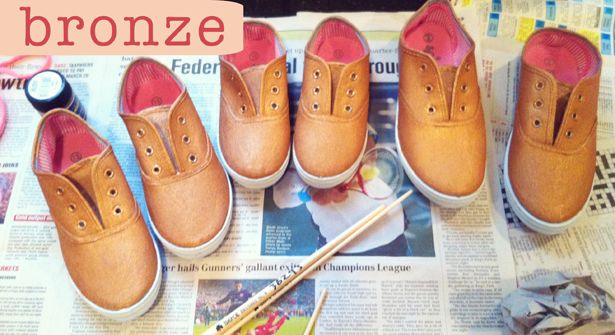
{Take the laces out before you paint the shoes.}
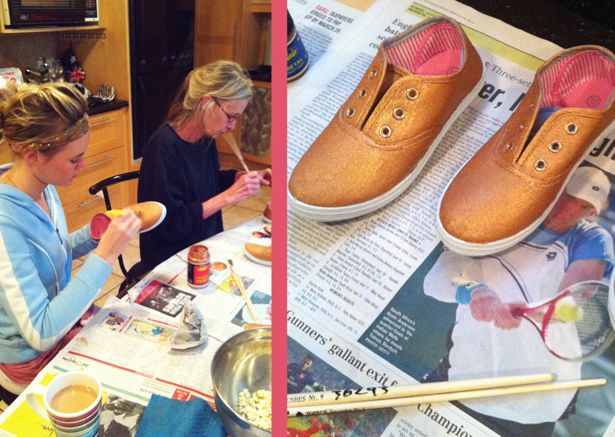
Enlist your family members to help - thanks mom!
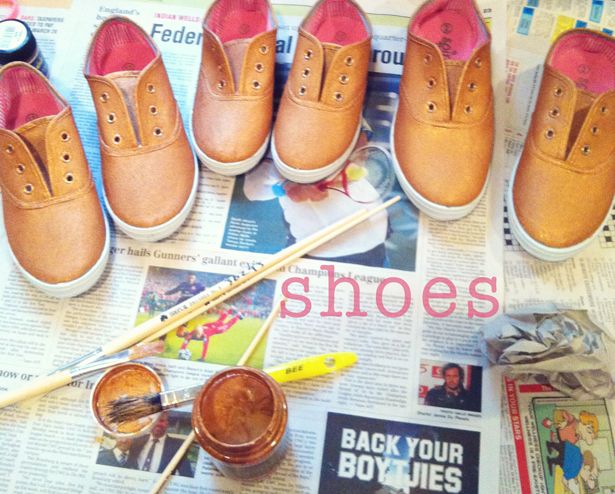
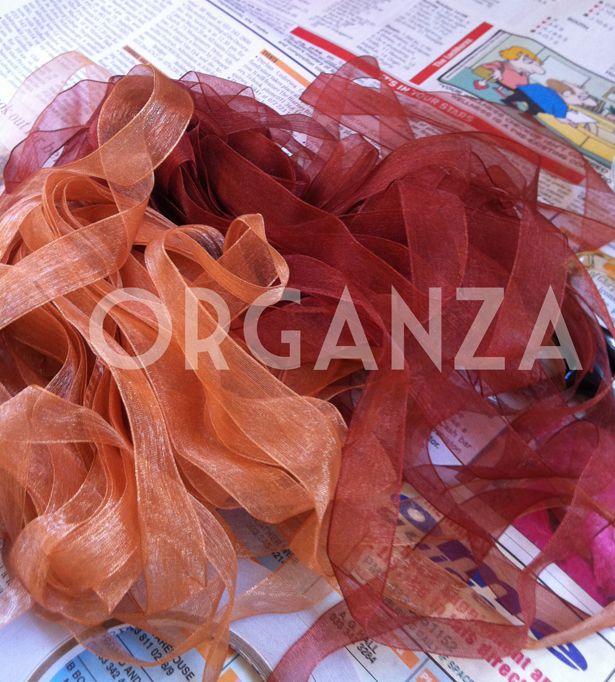
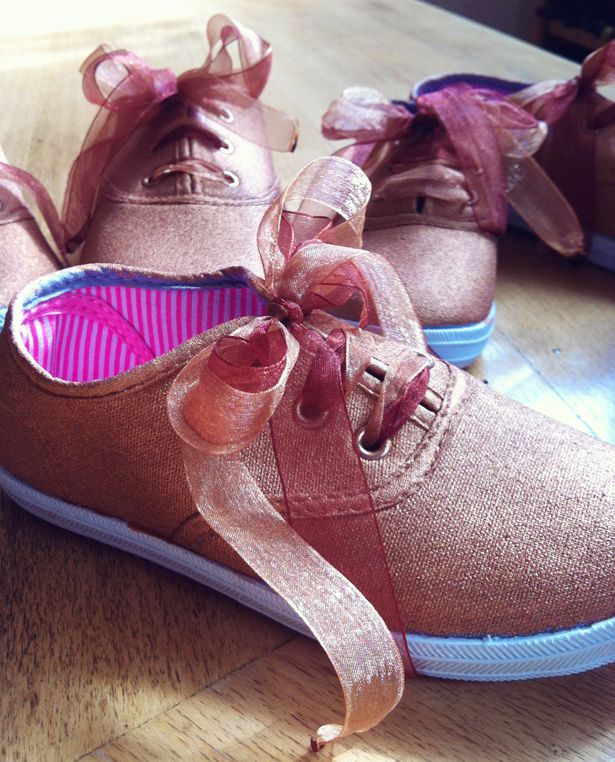
For the shoe laces I wanted something soft and a bit fairy-like so I opted for two different colours of organza mixed together - Organza looks really beautiful especially when you use two colours per shoe as I have done here. Organza is quite a hard ribbon to thread through the eyelets though because it is so soft.
As a tip, I would recommend burning the edge of the organza to make the end a bit harder and easier to thread. (You can actually see the burnt edge on the organza at the bottom of this pic below). You can cut off the burnt edges once the shoes are threaded. NB: organza burns VERY quickly. Be warned.
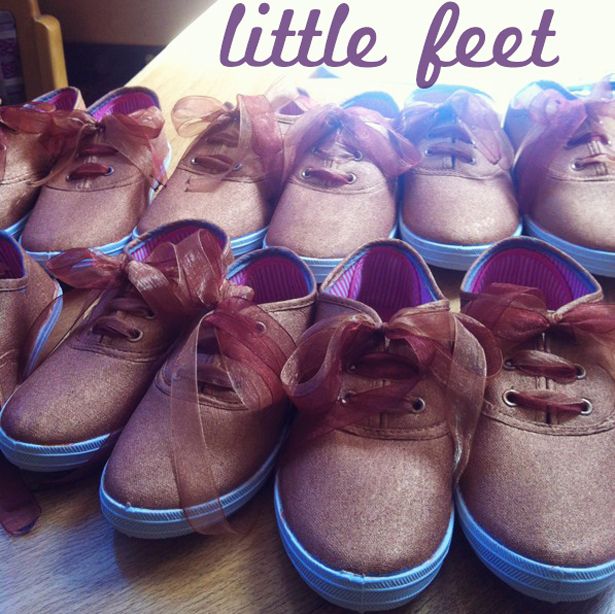
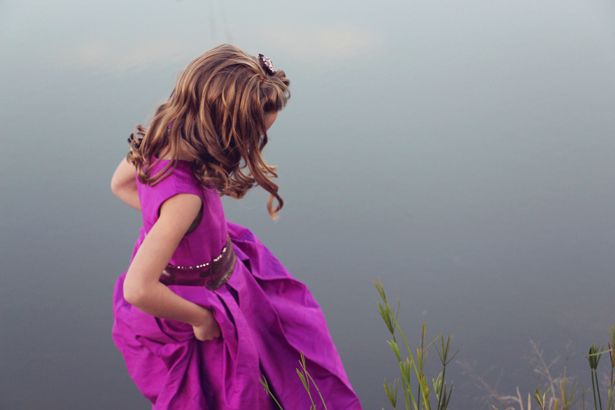
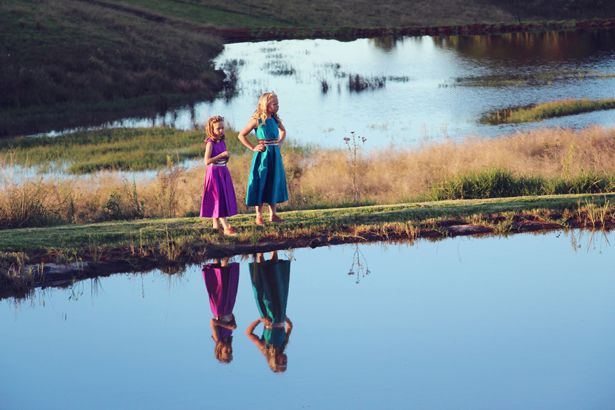
They all looked so cute in their little outfits -
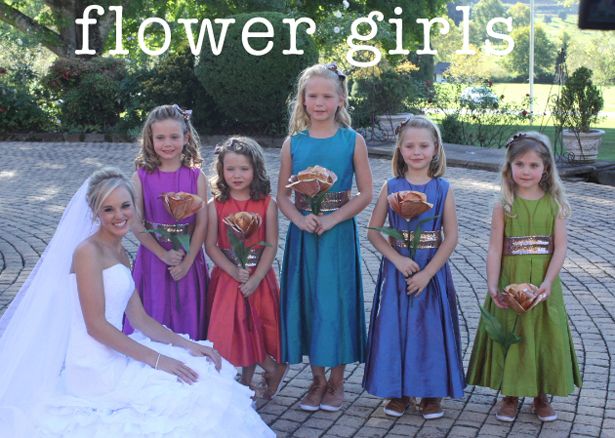
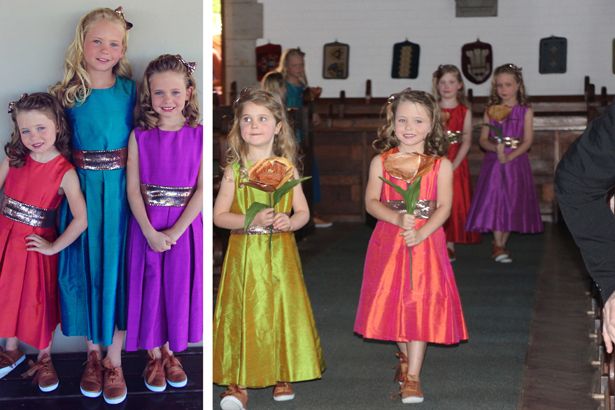
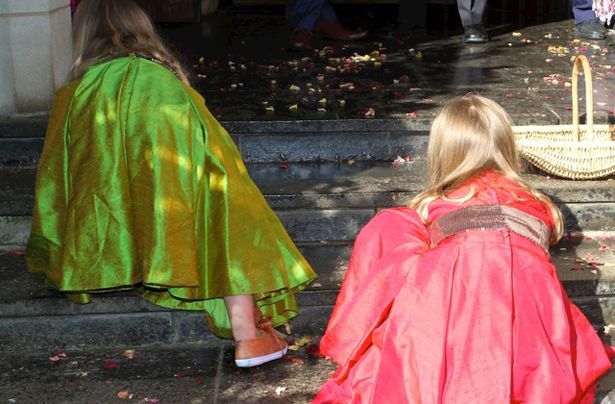
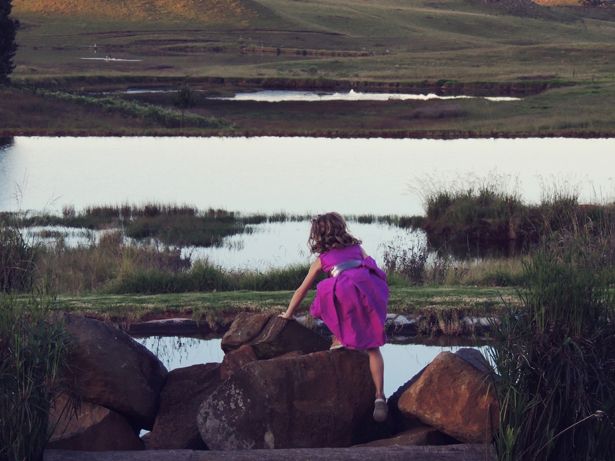
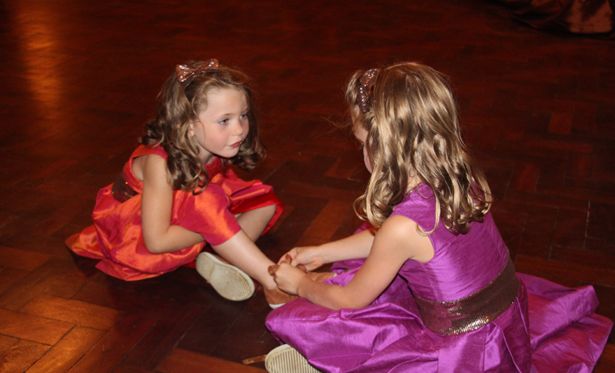
And, if nothing else, at least those carefully painted shoes were good for exploring -

I just clicked now that you had your wedding at Netherwood!! We shot a wedding here a month ago - so very beautiful!!!
ReplyDeleteIf you feel like venue reminiscing here is the link: https://vimeo.com/69306558
:)
ah beautiful video! goosebumps!! :) We got married in the Michaelhouse Chapel and had the reception at Netherwood - sad we didn't get to use that beautiful chapel - but it was too small for us and Warren is a Michaelhouse old boy... so..... haha ;)
ReplyDeleteSo clever! And the little girls looks gorgeous
ReplyDelete