The in-laws are over in London for a bit so we spent the long weekend having picnics in the park, lazy pub lunches and watching ALL the sport. I was in charge of pudding on Friday evening - and I produced a spectacular mess of a recipe that my mom sent me - which included a tin of pineapple that was too small, a packet of tennis biscuits - which do not occur in England and I bought a carton of cream which does not beat. It was not great and the family did not "love" it. But, they love me - so they told me they did anyway. Bless them.
Tonight I am cooking for the whole clan.
Yes
You heard that correctly.
Say a prayer.
Say a prayer.
Anyway with that said, there is not much time to dilly-dally on this blog today - so instead I've decided to show you a quick and easy way to draw Mickey Mouse. I learnt this in Disney World, USA when I was a tiny fry - my brother was getting very irritated because he wanted to go and queue up for the rollercoasters and all - but I kept going round and round in the drawing class with the "amazing electronic screen and pen!"- Eventually the man who was running the drawing class came over to me to tell me that I had literally participated in every character drawing class they offered and perhaps I should move onto another "fun activity". All I really wanted to do was draw all the Mickey Mouse characters though and after I told him that he suggested that maybe one day I could come and work at Walt Disney World and draw EVERYTHING, EVERY DAY.
His teenage self was probably being slightly sarcastic at my tiny young fry self - but I will have you know - after university I really honestly did open up application forms to work at Disney World as a drawing/entertainer Mouseketeer or whatever they were called. Due to the heavy visa restrictions (ie: USA won't give you a visa without a job, Disney World won't give you a job without a visa etc) The only option available to me was to work in the "safari land" of Disney World as a seller of stuffed lion-toys. Which isn't really the same as being a drawing Mouseketeer.
{After I was snubbed by Disney Land, I then went to look at Pixar at their internship programs - and I was totally sucked-in by their epic FREE CEREAL BAR, but unfortunately they also tend to prefer US graduates into their programs and back then there were all kinds of visa complications for a South African. We spent hours on the phone to America trying to find any kind of loophole. Alas. I cried a little bit. But who knows - THERE IS STILL TIME and maybe one day I will convince husband that we should move to Disney World and become Mouseketeers! He would look good in ears.}
{After I was snubbed by Disney Land, I then went to look at Pixar at their internship programs - and I was totally sucked-in by their epic FREE CEREAL BAR, but unfortunately they also tend to prefer US graduates into their programs and back then there were all kinds of visa complications for a South African. We spent hours on the phone to America trying to find any kind of loophole. Alas. I cried a little bit. But who knows - THERE IS STILL TIME and maybe one day I will convince husband that we should move to Disney World and become Mouseketeers! He would look good in ears.}
Anyway I digress - here are the easy instructions for drawing Mickey Mouse!
Get your pen and paper out!
Get your pen and paper out!
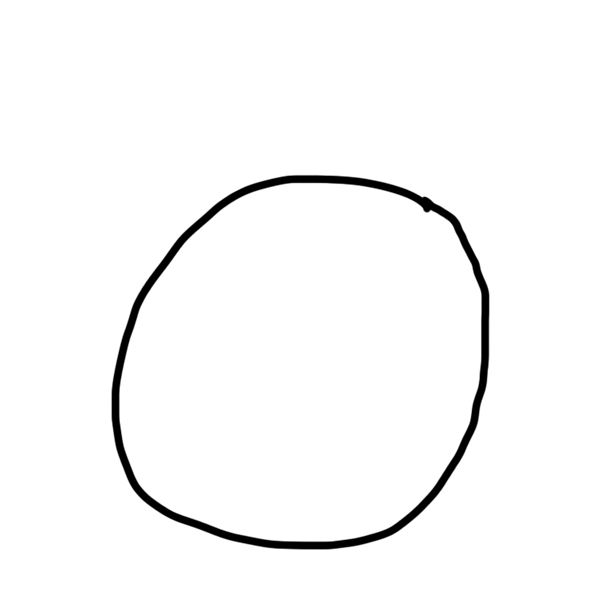
STEP ONE: draw a circle. SO EASY HUH!
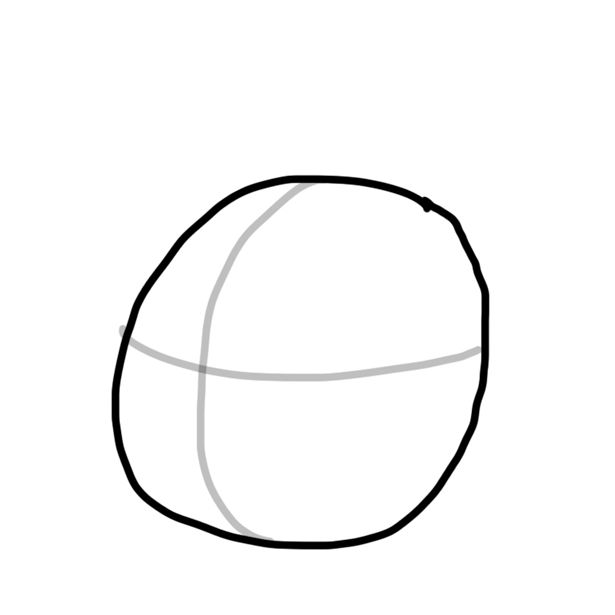
STEP TWO: Make guides in your circle. Like a curved cross. Still so easy! I told you!
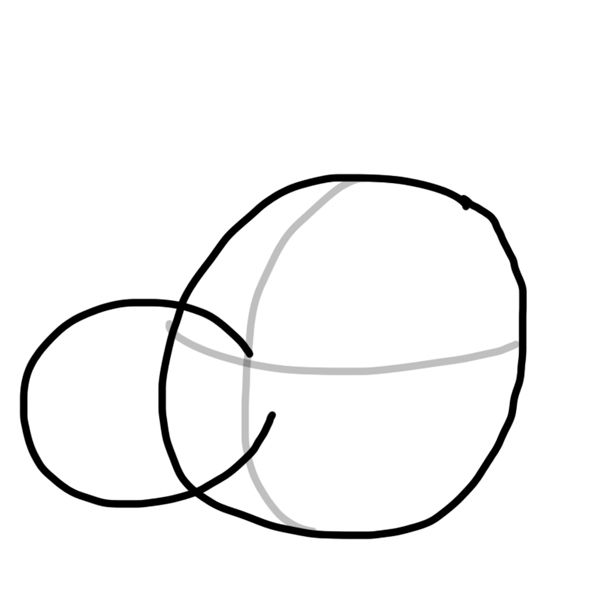
STEP THREE: Where the cross meets, draw an open C shape
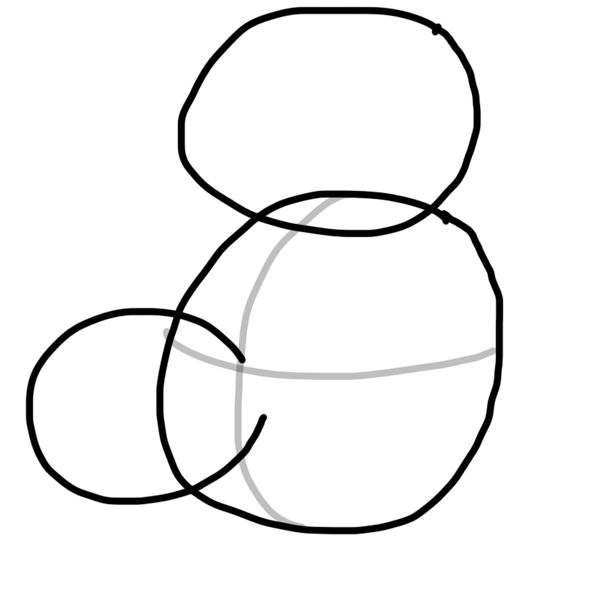
STEP FOUR: Draw another circle sitting directly on top of the first circle. It should be slightly smaller than the main circle you drew.
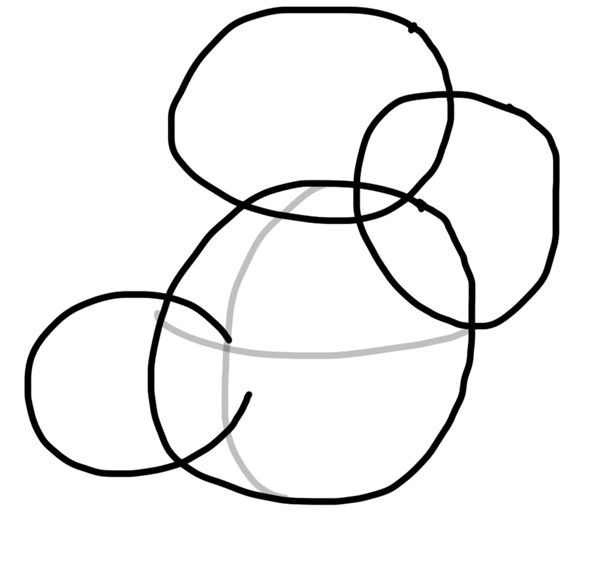
STEP FIVE: Draw another circle - you can line up the base of that circle with the one side of the guide line.
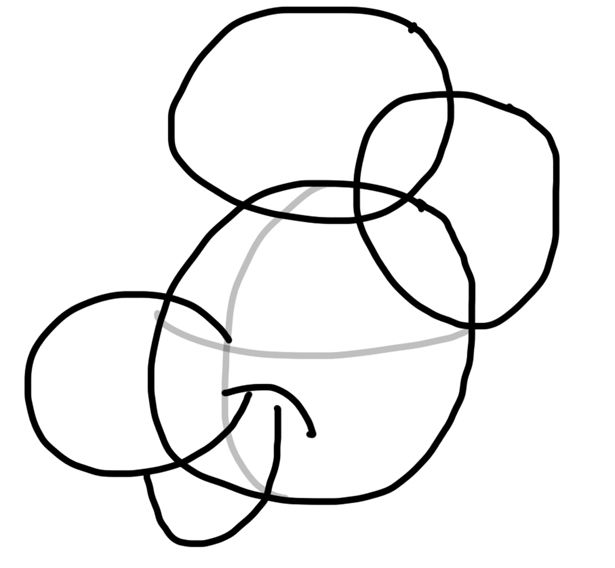
STEP SIX: Mid way through the C shape you drew - make a curved line down and up to almost meet the end of the C shape. Close it off with a parenthesis ) shape.
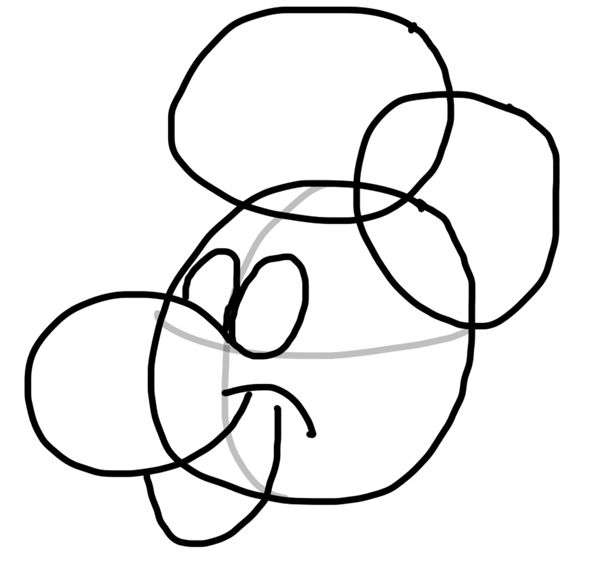
STEP SEVEN: On either side of the vertical guide draw an oval shape. They should both be similar sizes and they should both be sitting on the same horizontal guide. Let them both touch the vertical guide.
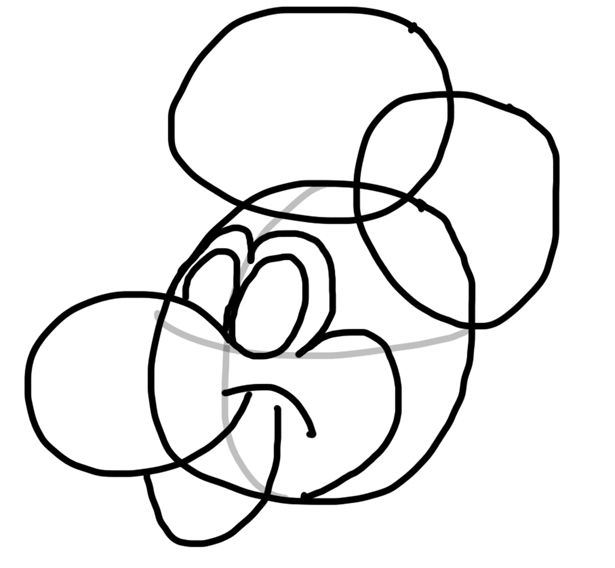
STEP EIGHT: From the edge of the circle follow the curve of the eyes you have just made and make a "rough M" type shape to touch the horizontal guide on the right side of the right eye - then continue round to make another curve which will form the cheek and touch the circle at the bottom.
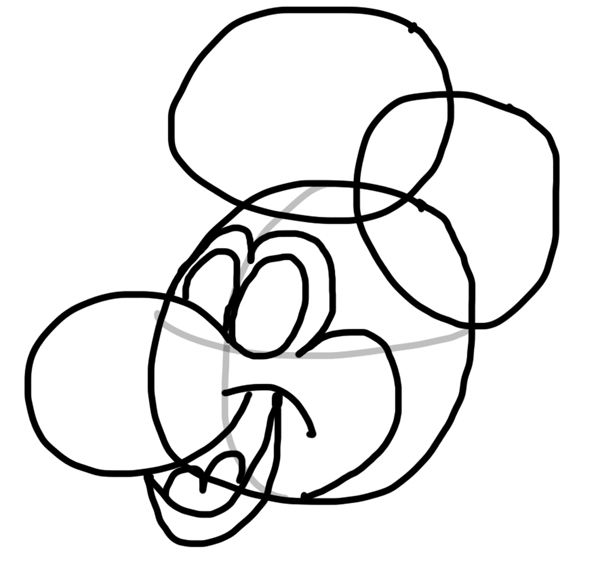
STEP NINE: Make a second line in the mouth you have drawn and make an M shape to complete the tongue.
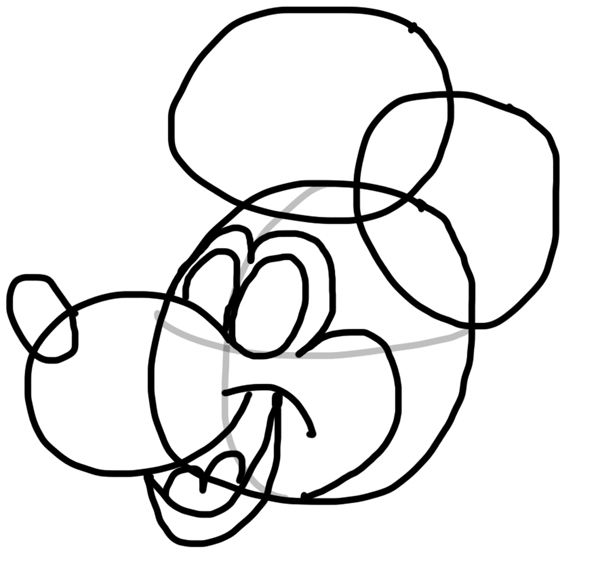
STEP NINE: Draw an oval shape sitting on the end of the C.
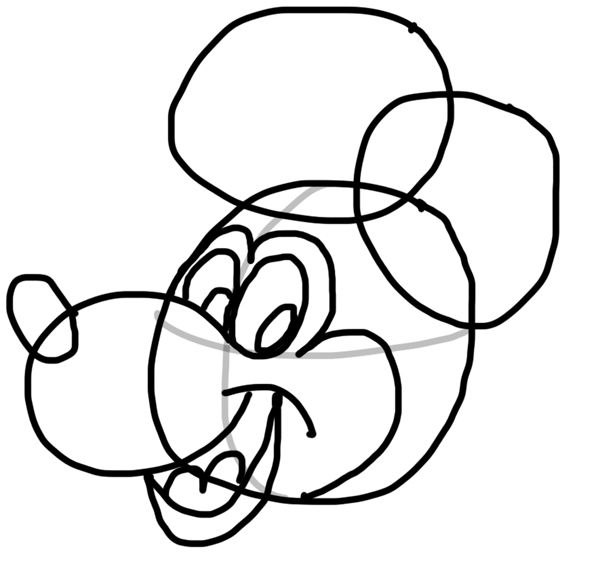
STEP TEN: Draw two oval shapes to make the pupils - remember that what ever is behind the "c" nose will not be able to be seen. {If you prefer you could even draw the full oval shape and then erase the unnecessary parts at a later stage}
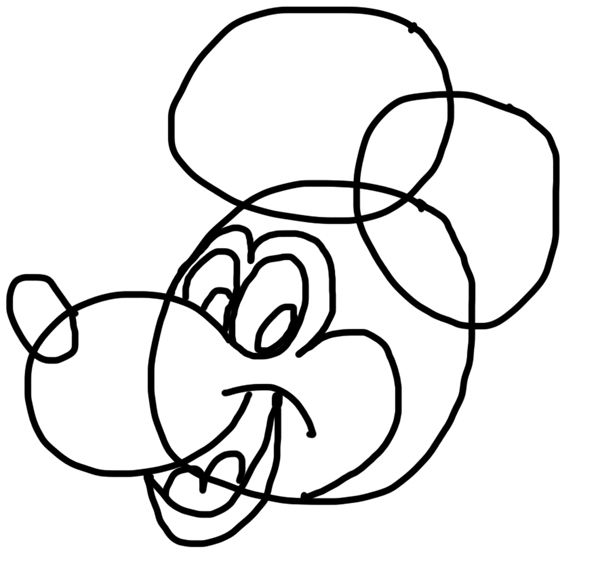
STEP TEN: Remove the guides and any other unnecessary pieces.
STEP ELEVEN: Colour in your Mickey Mouse - leaving some whites in the eyes and the nose to show light reflections -
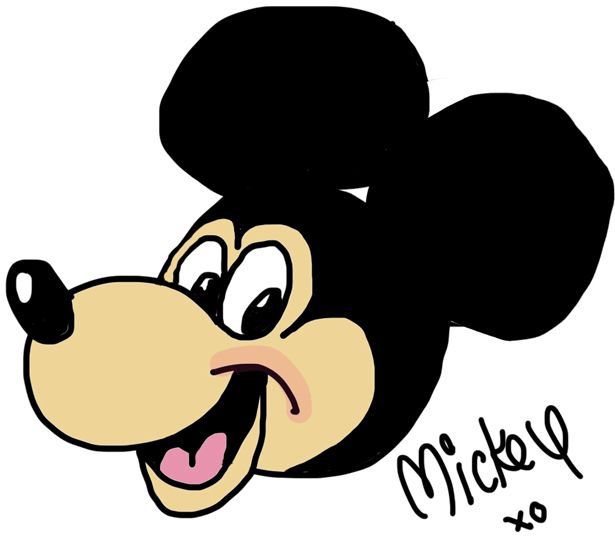
If you do attempt to draw a very quick Mickey -
please tweet me a snap of your pic! ( @indieberries )
or post it on the indieberries Facebook Page
I would love to see.
If I get enough, who knows - I may make a Mickey Montage!
(Then I will probably also choreograph myself a matching dance routine and send it in to Disney World as my audition tape.)
Now, if you'll excuse me,
Now, if you'll excuse me,
I'll be in the kitchen - burning the house down.
* ps - if you liked this post - you could also try this one on drawing a dog.
* ps - if you liked this post - you could also try this one on drawing a dog.

3 comments :
ohmygosh, I wanted to be an Imagineer and did two courses with them, one in Paris and one in England, soooooo much fun! 'Cept I wanted to do the decorations and layouts and show schemes :) Never seen the quick-Mickey, gonna try it at lunch
P.S HUUUUGE good luck wishes for this evening. I caved and made the Jamie Oliver filo tart last time for my parents 'cos it looks so swish but is so easy...maybe one for you another time :)
Good luck with the cooking x
OMG....this does not look as easy as when you did it...but will give it a go ;)
Post a Comment