Showing posts with label kids. Show all posts

Friday, September 7, 2012

Entertainment

How to keep kids entertained in "London Weather" for the whole day: 


Picture drawing x 1million:
Photobucket Photobucket 
Prince. (How very dashing he is with his perm).
Ugly Step Sister.
Photobucket 
Me.
Every day.
Photobucket
Cinders.
Photobucket 
Rapunzel et
Frog.
Photobucket 
More ugly sister with added nose-wart.
Photobucket 
Princess.
Frog ala future prince.

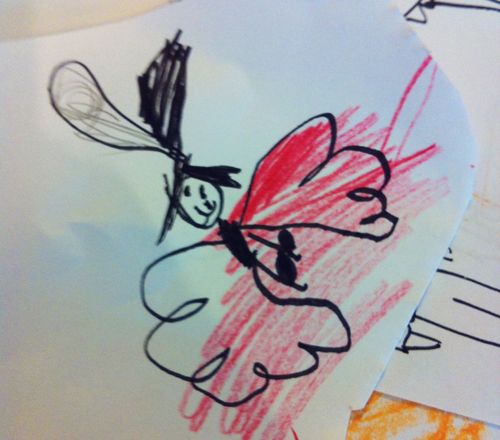
And then they discovered I could draw fairies.
And i was commissioned to draw ALL the fairies.
Photobucket 
The Tooth Fairy.
Photobucket 
The Rainbow Fairy.
Photobucket 
The Mermaid Fairy
(Yes, it's a thing).
Photobucket 
The Star Fairy.
Photobucket 
The Heart Fairy.
The Cloud Fairy.
The Moon Fairy.
The Circle Fairy.
The Square Fairy.
The Weather Fairy.
The Language Fairy.
The Arabic Fairy.

You didn't think all these fairies existed did you?

They do.
And we drew all of them.

PhotobucketPhotobucket Photobucket Photobucket
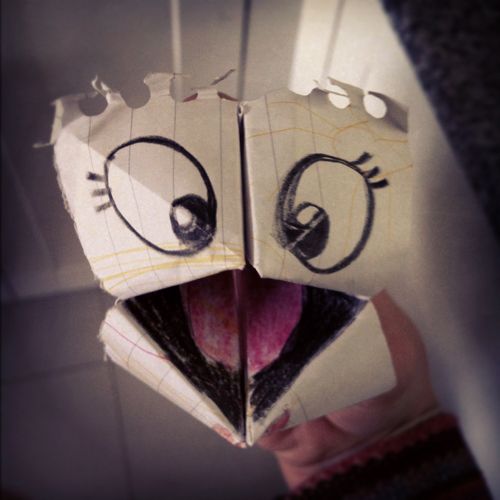
Alternatively you can make one of these using an Origami Fortune teller pattern.

This will keep kids occupied for several hours.
Guaranteed.

Paper - For the Win.

Tuesday, August 7, 2012

Piggly

Photobucket
I decided to make Paper Mache piggy banks with the little girls I have been babysitting. I used the same paper-mache mix that I mentioned in this post - one part flour two parts water.
We blew up some balloons - (you can make large or smaller piggy-banks by adjusting the size of the balloon that you blow up) and paper-mached around them using the flour/water glue mixture and strips of newspaper. Remember to leave a little gap over the balloon tie - so that you can pop the balloon later when the paper-mache is dry. You may want to do a second layer of paper mache in order to make the piggy bank a bit harder.

In order to make the trotters and nose - I cut up an old toilet roll, stuffed it with newspaper and paper-mached them to the pigs. Make sure to attach them in the appropriate place - some little kids may need help with this - since we nearly had legs coming out all over the place. lol.
Photobucket Photobucket
When the pigs were dry and hardened with the paper-mache - you can pop the balloons inside and paint them with bright pink paint - Photobucket Photobucket Photobucket 

Once the pink paint had dried we attached some pink ears (triangles made from cardboard) which we sticky-taped on. But you could also paper-mache them on in the stage before or glue them on once the paint is dry. Next we painted on some eyes and I used a knife to make a coin slot in the back of the pig. You can also attach a wool tail or paper tail that has been curled with scissors. The girls had great fun playing with them. I didn't manage to get a final snap since there was too much excitement at having made their own piggy banks - but the end result was something like this:
 Photobucket

Thursday, August 2, 2012

cuteness

Photobucket

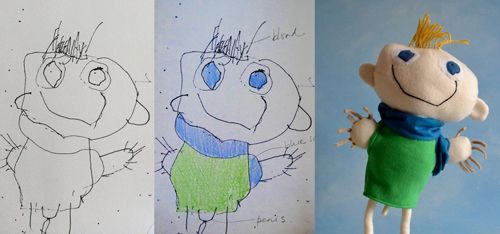
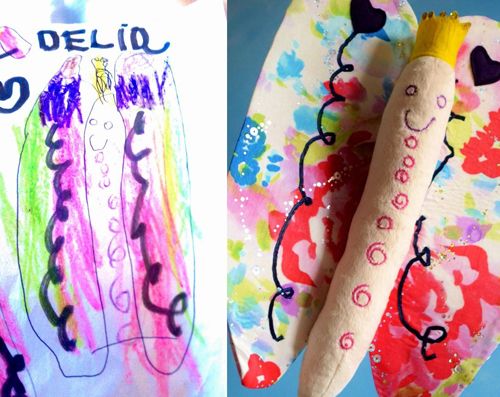
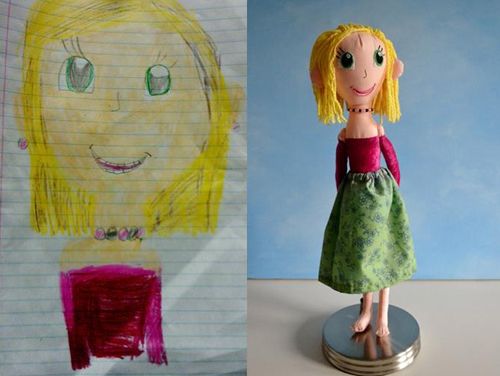
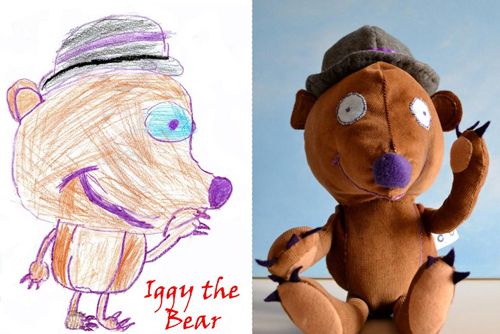
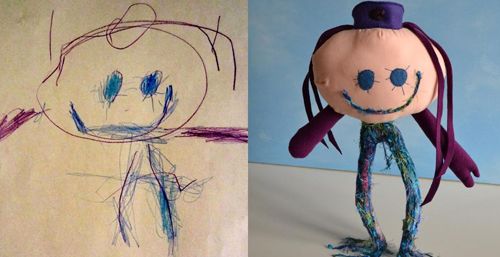
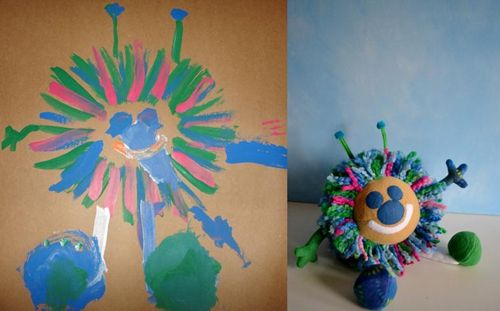
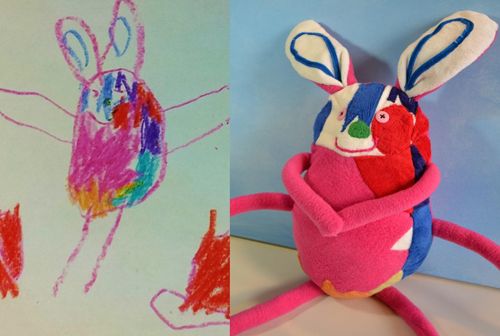
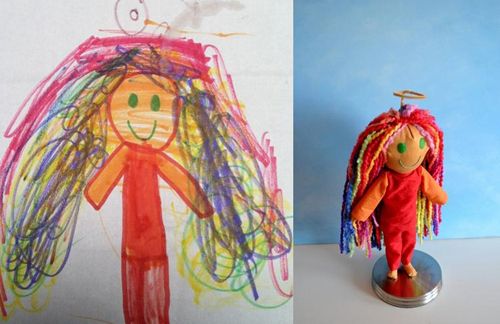
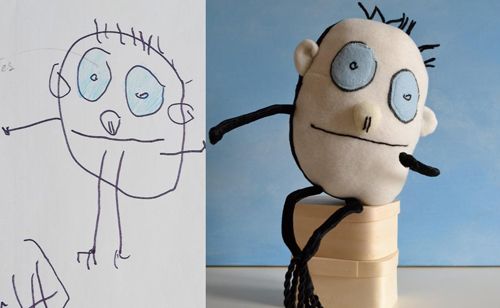
I stumbled across this amazing concept from Childs Own - parents send in pictures that have been drawn by their children and the Childs Own company re-creates their pictures into their very own toys - right down to the last detail. What a cute gift!

Photobucket Photobucket Photobucket Photobucket Photobucket Photobucket Photobucket Photobucket

Thursday, June 28, 2012

Sock it to 'em

Photobucket
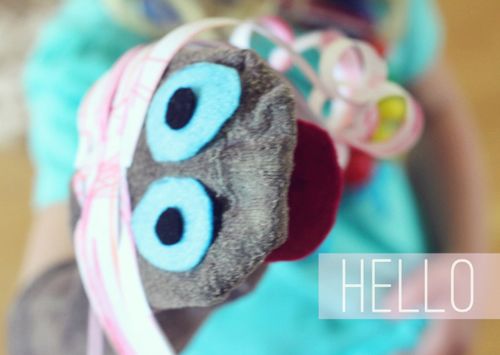
I'm pretty sure you have all made a sock-puppet at some point in your life. Anyway, I just thought I'd share a little sock-puppet DIY for those of you who may have missed out on this epic life experience. I made these with Warren's niece who I am babysitting for a while.
Photobucket
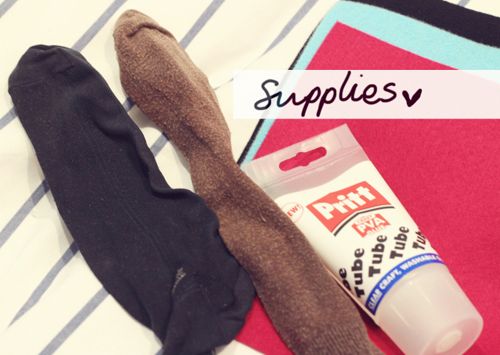
Things you will need to make a sock Puppet -

  • One of Warren's socks (just kidding, use your own sock).
  • Glue - make sure it is a fabric glue
  • Felt in various colours - I used blue, black and pink
  • Scissors
  • Wool

Photobucket 
Step One:
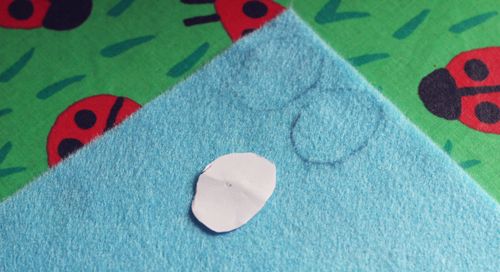
Cut out eyes on the blue felt. Older kids can cut them out on their own. In this case I drew a paper eye and let Little Miss trace around it and then I cut it.
Photobucket 
Step Two:
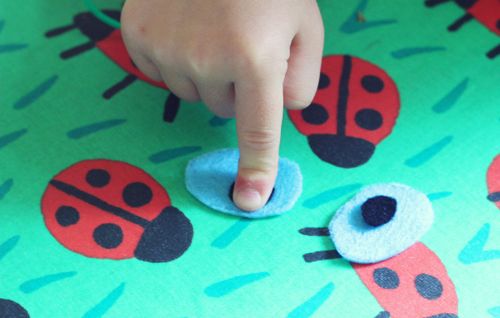
Cut out smaller black circles for the eyes - (pupils yo!) and glue them into the centre of the eye.
Photobucket 
(please note the bling)
Photobucket 
Photobucket 
Step Three:
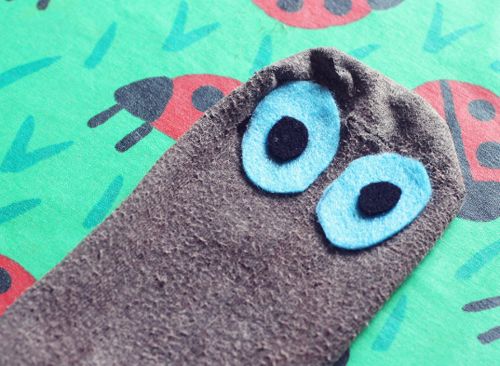
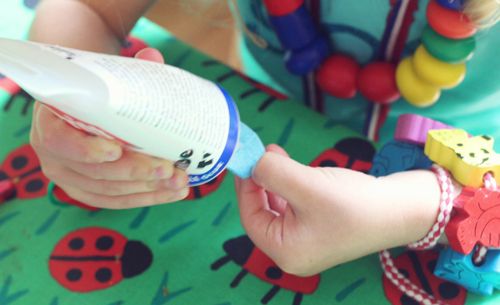
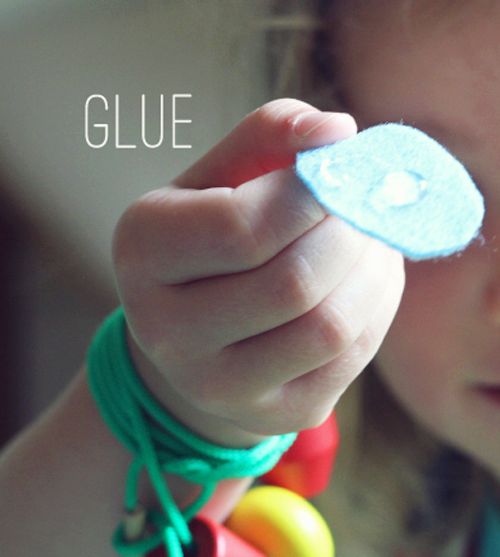
Use your fabric glue to stick the eyes onto the sock at the toe endPhotobucket Photobucket 
Step Four:
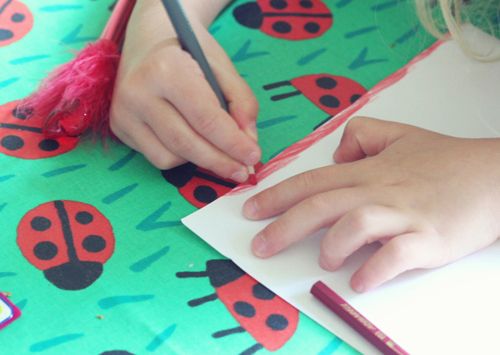
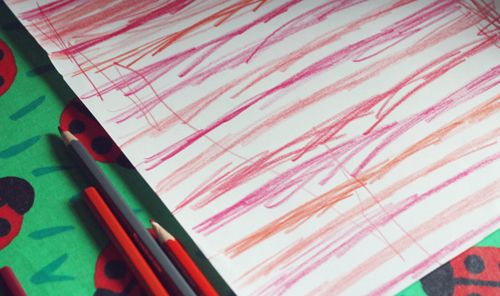
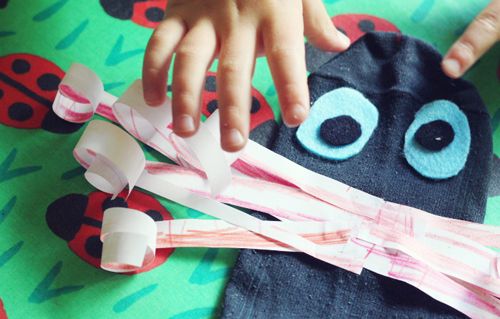
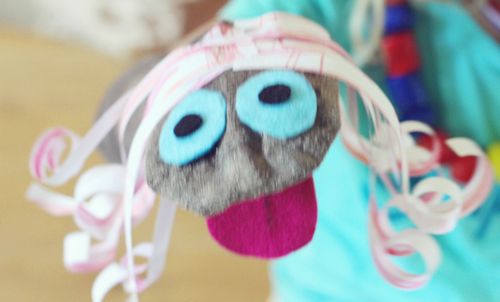
If you are more awesome than me, you will have found wool to use for hair. If you are not awesome and could not find wool - you will have to use paper. We decided on a hair colour (pink) and then we coloured a piece of A4 paper with pink strips, which I cut up to use as hair.
Photobucket 
Photobucket 
Step Five:
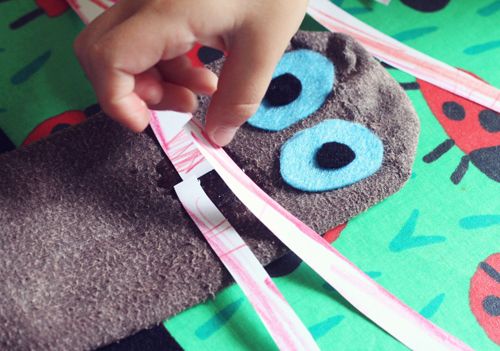
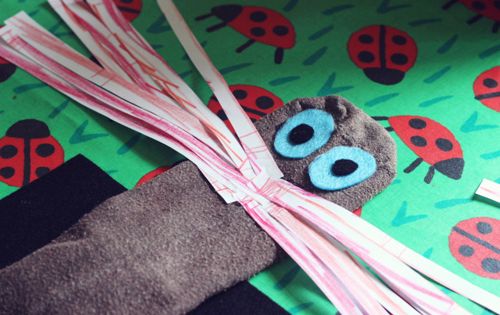
Glue the hair strips onto the sock head- right behind the eyes.
Photobucket 
Step Six:
If you want to can curl the paper up - using one side of a pair of scissors -  like you would if you were curling ribbon. You can also cut out a tongue shape to glue to the underside of the puppet.
Photobucket

Step Seven:
Host a puppet show.

PS - 
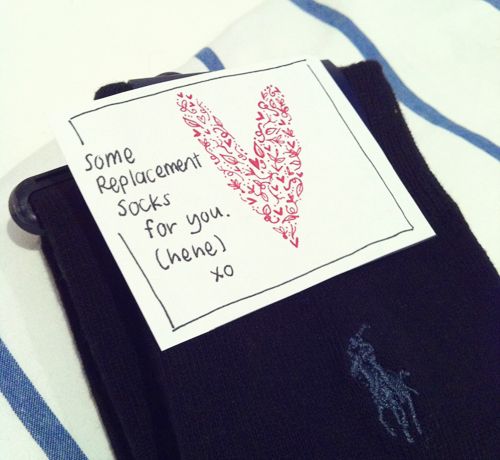
Always repay your debts:


Photobucket