Showing posts with label tutorial. Show all posts

Tuesday, October 25, 2011

brogues n shoes

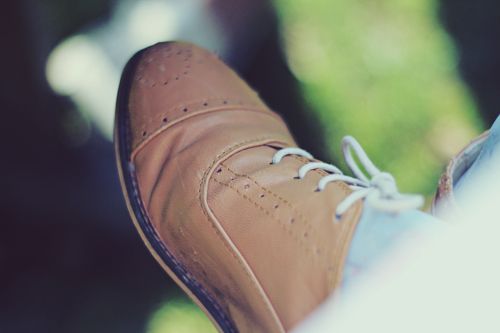
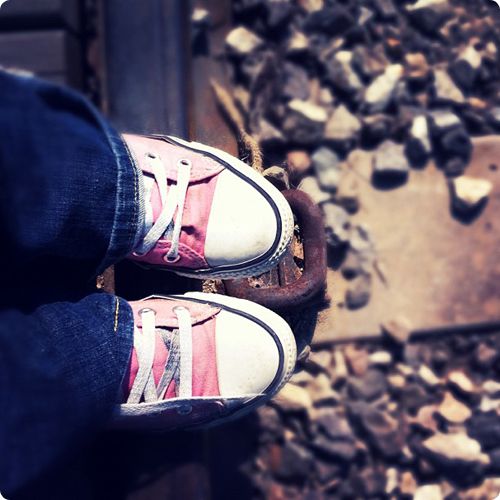
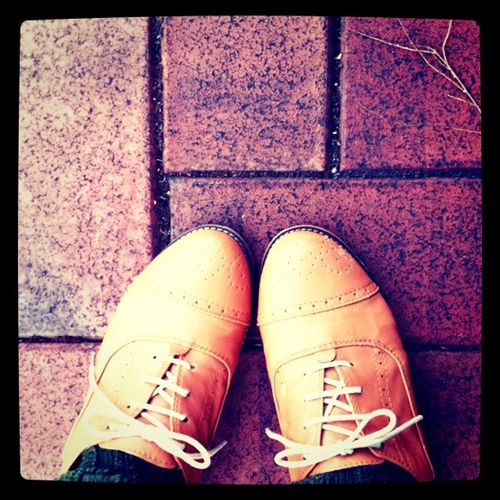
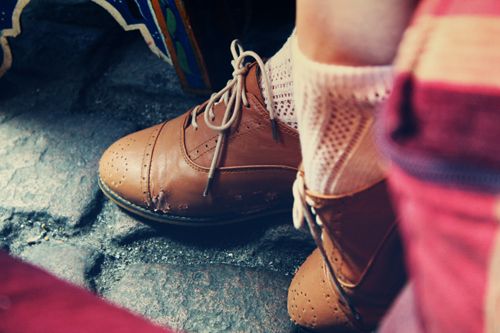
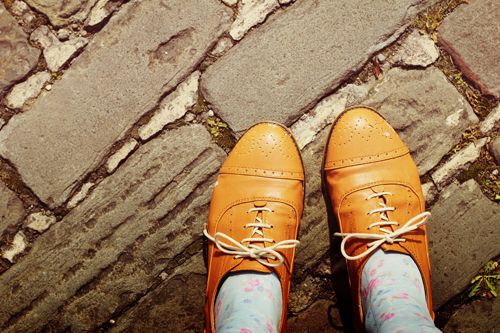
I have been slowly sifting through all the photos on my phone and camera card (which was lost for almost a week * well done self *). I was looking for some pics to play around with a few photo editing things I want to try and I have realised that I have a lot of pictures of my feet... esp when Im wearing these little brogues. haha. Here is my feet for all of indieBerries land to see:
Photobucket
Photobucket
Photobucket
Photobucket
Photobucket

When I edit pics I usually run photoshop actions over them or play with tutorials that i've scavenged the internet for :)  You can download a whole bunch of free photoshop actions from Deviant art, Paint the Moon and MaybeMej. There are also some Photoshop Actions online stores that offer free trials like Totally Rad Actions. Once you have downloaded some of the actions you just open up photoshop go to your actions toolbar and on the right hand-side drop down menu you can click "load actions" and upload the actions that you have downloaded. Then you just open up your picture and run/play the action over it. Simple :)

If you're feeling a little more.. ahem... fancy, you can try out some photoshop tutorials. There are a few that I like - such as this one on The Daybook and this one on Pugly Pixel and this cross-processing one on Tutorial blog. (Actually, I have created my own actions from these tutorials by "recording" my moves in photoshop and then saving them as an Action. I would only recommend this after you've gotten the hang of the tutorial :) The Pioneer Woman and Bower Power blogs are also a super useful for photoshop Actions and tutorials.

Also, there is an awesome website called Rollip- which you can use to generate cool filters and effects on your photos and it does all the work for you. (ten points to that.)

Wow - did you get through all that mumbo-jumbo? Are your fingers falling off from clicking-death? Do you hate me for the obnoxious link-frenzy? I'm sorry. I got carried away :)

*peace*

Thursday, January 20, 2011

found this, must share.

so i was bumbling around the internet... as you do... and i came across this DIY DSLR camera BA
G. (that's a lot of acronym going on over there. LOL.) Found at a beautiful blog - Vanilla and Lace.

ah, it's fancy.


check out the post here and make your own camera bag.

Friday, November 12, 2010

Fun things on the WWW

Just some lovely things I've come across...

Making photo transfers with Promise Tangeman and The Girls with Glasses
A collection of 2011 Calendars from Oh so Beautiful Paper
A DIY Bunting greeting card from Just something I made
Take a look inside a gorgeous studio at Divas and Dreams
A December advent type journal/calendar from Elle's studio
Awesome styling and photography from Katrin Schacke (especially love the food and fashion - click the pictures!)

Check out some of these sites.

Saturday, October 30, 2010

I'm a cheater.

I know it's cheating... but I've been playing around with lomography-style/cross processing effects photoshop tutorials so that you can "turn" your digital pics into lomo-esque pics
BEFORE:
AFTER:
this was just my first quick/rough attempt - will show more when I have tweaked a few things and done a few more pics :) hope everyone is having a great weekend...

Monday, October 25, 2010

I've come across something WONDERFUL!

In my internet prowling I've come across Fuzzimo - an amazing blog/site that has a variety of free downloadable textures/ pictures/ accessories/ tutorials/ Photoshop brushes etc etc.

Also another awesome little haunt - Paint the Moon  which has photoshop actions and textures. I downloaded the free version of The Bees Knees Photoshop actions and I used them on these photographs:

BEFORE:
AFTER (using the 'buttery' photoshop action):
BEFORE:
AFTER (using Buttery Action):
AFTER (using Vanilla Pop Action):
BEFORE:
AFTER (Using Frosting Action):

I'm off to print some of these (and a few others today) for a giveaway I want to do soon... yay!


Have Fun :)
Fuzzimo - Click Here.
Paint the Moon - Click Here.

Sunday, October 17, 2010

an old-school fake.

Spent the evening playing around in photoshop (don't worry... I also went to gym, cooked rubbery-chicken, watched a movie, planned a wedding guestbook and did some laundry - i'm not that much of a computer nerd.)
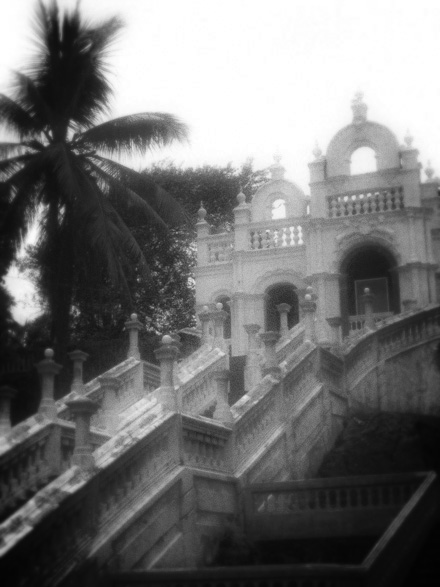
 I love vintage style lomography pictures and I've been trying to create a lomography/vignetted style black and white image with my digital photographs. Here is how it went down:


Step 1. Choose a digital image you like. (wow that was easy.) I feel that simple images are better - but i'm not an expert. (also for my next attempt at this I would use an image that has something more close up/in the foreground) Here is mine (taken at an abandoned temple in Sri Lanka)
Step 2: Convert the image to black and white by selecting IMAGE > ADJUSTMENTS > DESATURATE. easy, like this:
Step 3: FILTER > DISTORT > DIFFUSE GLOW. This give the image a soft feel that is synonymous with vintage cameras.
Adjust your levels of graininess, glow and clear. This will depend on the resolution of your image. Larger values for larger images and smaller values for smaller images. (simple) The graininess helps to give the image the same type of feel that you would get from an ISO400 speed film and it helps to make the image feel more like film. The amount of graininess (as with everything is up to you)
Step 4: To create the vignette style you need to make an oval shape using the elliptical marquee tool like this (this is che's version. it doesn't look exactly like this in photoshop. but its close enough)
Step 5: You need to select the inverse of this SELECT > INVERSE and then you need to SELECT > FEATHER. You can set the feather radius to about 200 pixels. But this also depends on the image size like before. (I was using a 440 pixel wide image so my radius was only set to about 100) This step will help to give a gradual fade out and make the vignetting more realistic.

With the inverse still selected got to IMAGE > ADJUSTMENT > CURVES and drag the curve down by clicking on the line in the centre of the graph thingy. This will make the edges of the picture darker. Play around with it - until you feel it looks most realistic. (or good for whatever effect you're going for.)
Step 6: Next we need to give the image a blurry feel to mimic old school cameras you can do this buy clicking FILTER > BLUR > GAUSSIAN BLUR and set the blur radius to between 8 - 15 pixels. If you want it more blurry drag it to the right and vice versa:
Step 7: Adding the blur obviously removes some of the graininess so in order to get that grainy texture back remove the oval selection and select FILTER > NOISE > ADD NOISE about 3% or 4%.

Step 8: If you would like to add some tone to your image you can select IMAGE > ADJUSTMENTS > HUE/SATURATION. If you want to give it a blue-tone like mine make sure cyanotype is selected in the preset and adjust your hue to about 204 and your saturation to about 7. You can also adjust the lightness to make it more realistic for your photograph. et voila!

So there you have it. But that was actually quite the mission. 
Next time I'll just remember to take my Diana F+ :) 
Happy Sunday * 

Friday, August 27, 2010

Pretty Paper

The other day, I did nothing. The whole day...nothing, except change from my pyjama's into my gym clothes (approximately 3pm) and subsequently found out the gym was closed.

I made paper.
Since it was the ONLY thing I achieved in this day, I thought I would share it...

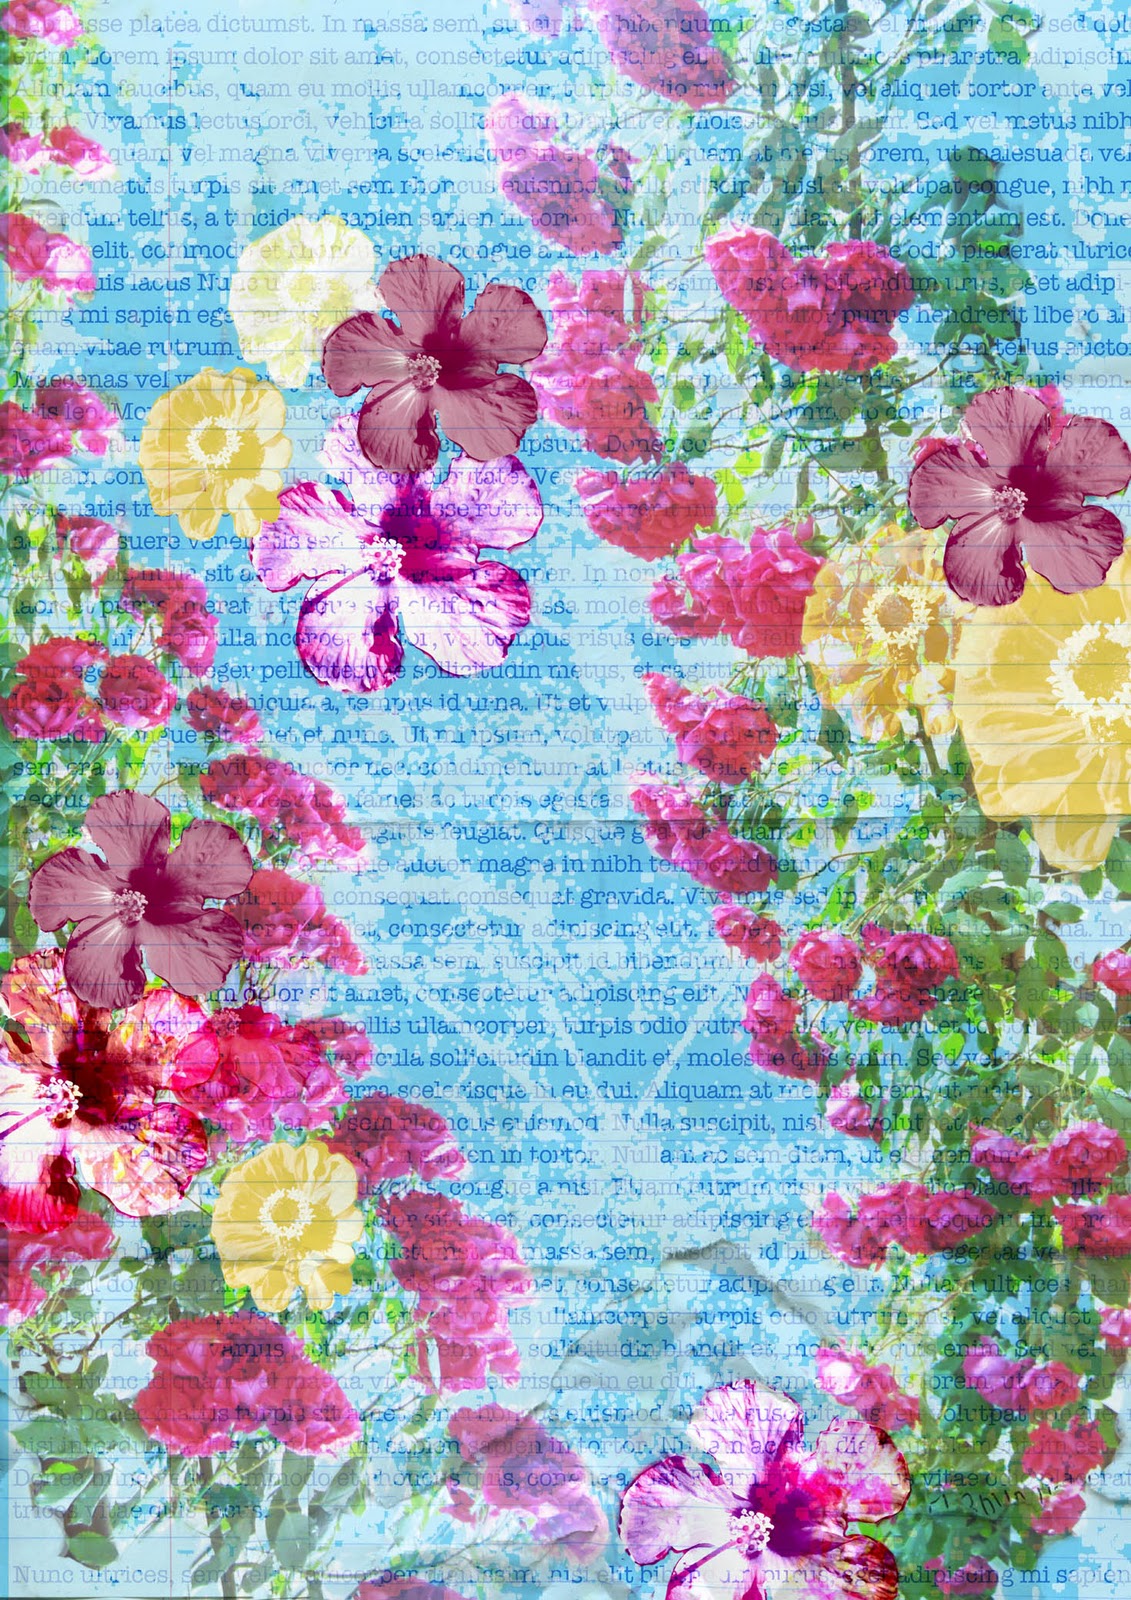
Step 1: First I took some pictures of flowers I took in Greece and applied some photoshop duo-toning techniques that I talked about here. I then cut them out using an eraser brush - (and it's very roughly done - but it's ok cause it will just help to build texture)


Next I opened a clear photoshop page and googled for some Lorem Ipsum text. (It's a real thing, I didn't make that up). I pasted some text onto the page and created a new fill layer of blue and blended the two layers together.


After this I took some pictures of old note paper and laid it on top and played around with the blending options until I got something I liked. (I talked about this technique here)
Added the flowers and some grungy scratch brushes over everything.....and... VIOLA!
Easy!


Try this at home...