Showing posts with label decor. Show all posts

Monday, December 23, 2013

DIY The best Christmas Tree in ALL the lands!

  photo washiChristmas1_zpsade4a20b.jpg
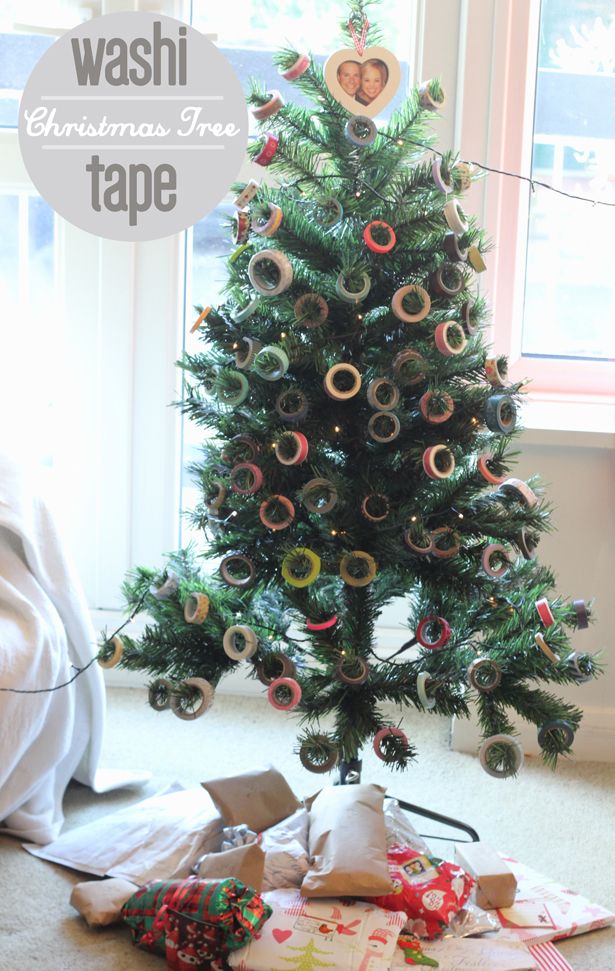
Do we have the most aweome Christmas Tree in all the world?
Why Yes! I think we do.

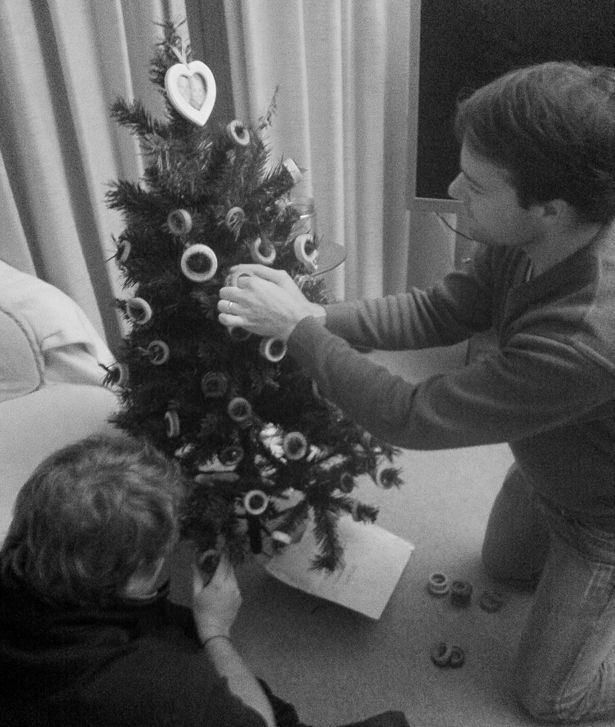
Now, to be fair, I cannot claim all responsibility for this genuis idea,  it was the brother, who is currently visiting us in London, who looked at our brand new bare tree and said, "You have so many 'craft-supplies' lying around here - you must be able to quickly whip up some Tree ornaments! In fact, you should just Washi Tape your tree."

Now, it is NO secret that I LOVE Washi Tape. And by "LOVE", I mean - Husband gave me 100 rolls of washi tape as a wedding present and it was the BEST. THING. EVAARR (video reactions included). I have washi taped business cards, lever arch files, advent calendars, Save the DatesBridal party requests, and Wedding invitations, I would washi tape myself new outfits every day if I could. So when it came to potentially Washi-taping our very first "husband-and-wife-Christmas-Tree", ahem, of course.
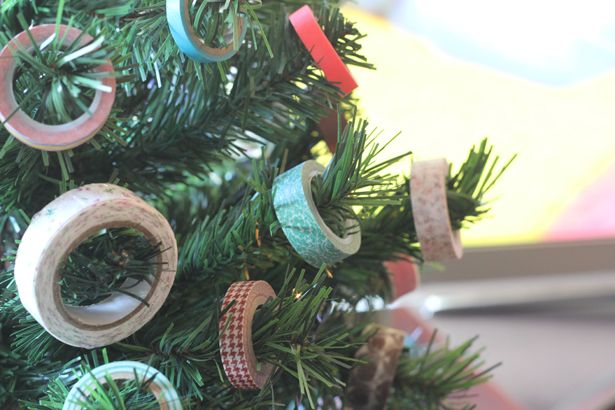
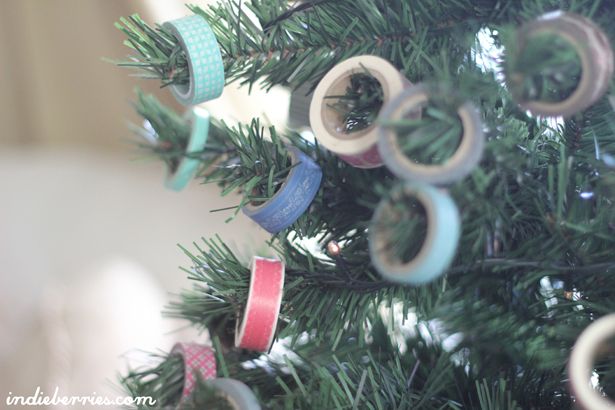
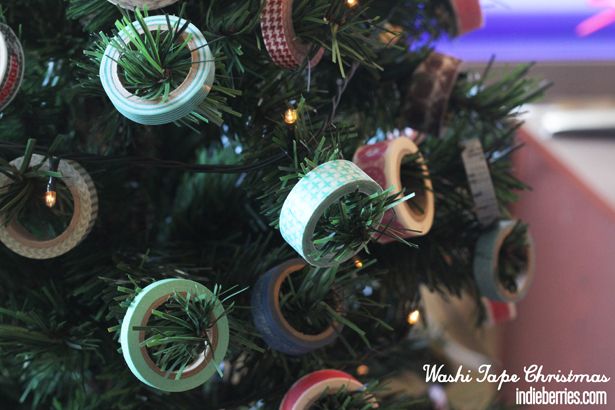
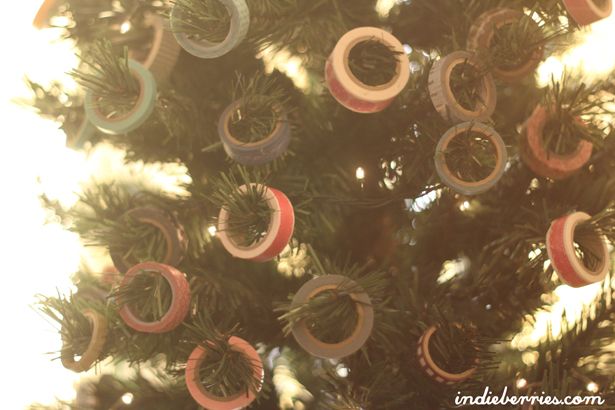
 photo washiChristmasTree2_zps73272afb.jpg  photo washitapetree5_zps4d19fcc7.jpg
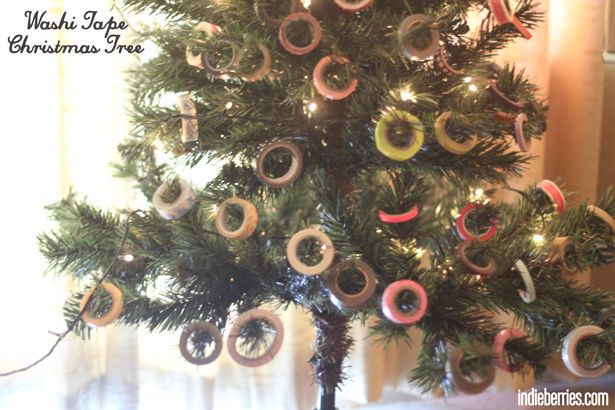
It was super simple! All we did was take all my (precious) rolls of washi tape and fit them onto the branches of our tree! They look SO gorgeous all together and the tree looks beautiful, but also modern and trendy! If you wanted to get fancy, you could theme the colours of washi tape that you want to put on your tree. We just went ALL in with ALL the washi tape!
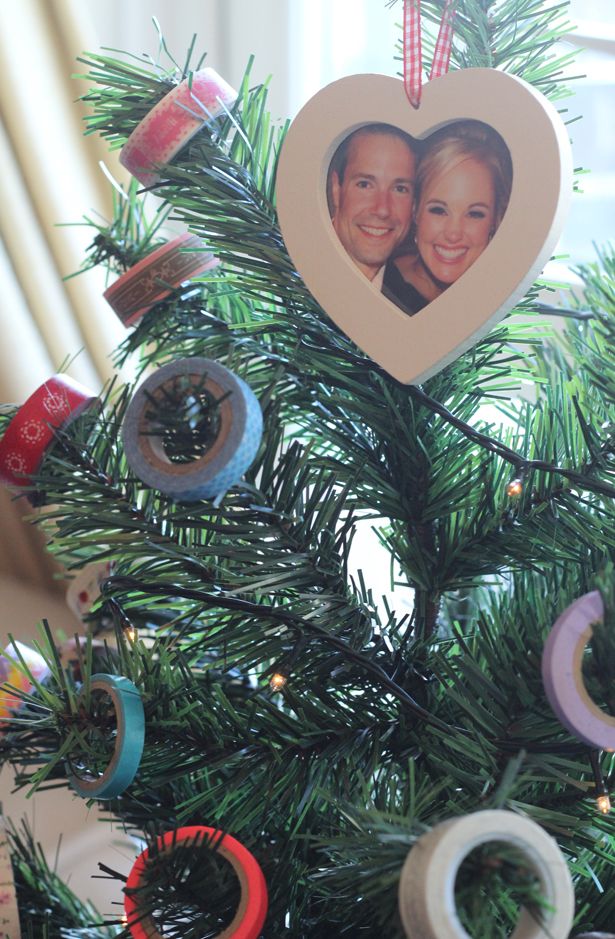
 photo WashiTape_zps9d1b3fdd.jpg
The only other decoration on our Christmas Tree is something my aunt sent us - which is a little heart frame with one of the very few wedding photos that we have (sad bride) and it's hanging right at the top of our Tree.
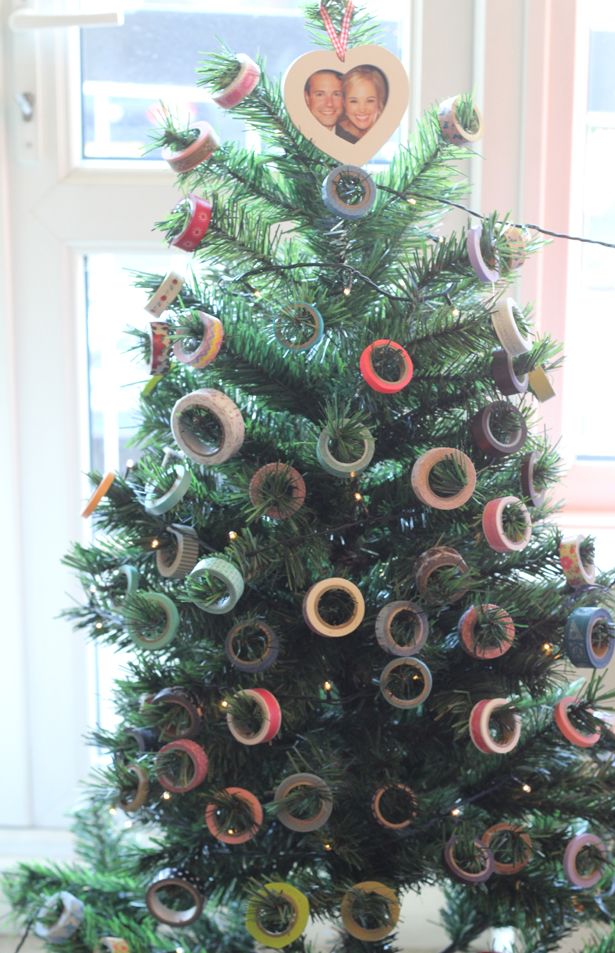
 photo WashiChristmasTree3_zps2cfa267f.jpg  photo WashiTapeChristmasTree2_zps175d3000.jpg
ME: WOW! This looks so awesome! We should decorate our Christmas Tree like this EVERY year! And each year we should get a bigger and bigger tree and buy MORE washi tape decorations for it!
Husband: um...

Whatever, I personally think it's a fabulous excuse to buy more washi tape.
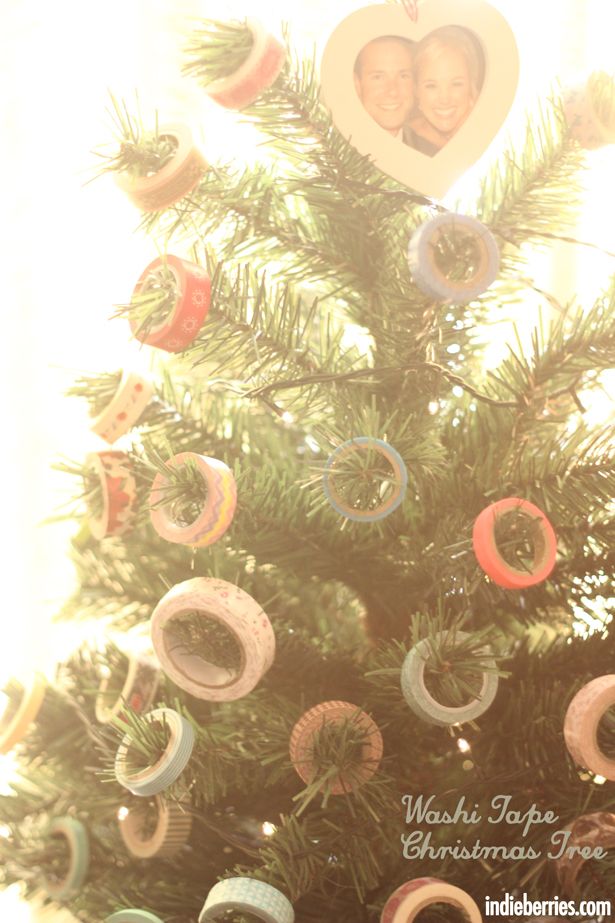

 photo washitapetree2_zpsdebf770a.jpg  photo washitape7_zpsedbea1b6.jpg  photo washitapeChristmasTree_zps9cdf52ba.jpg  photo washitapetree_zps9cb4d401.jpg
A little while ago we posted some "cheap n dirty" Christmas decor ideas along with Michelle and Freya and this fits perfectly into the "budget decor" mix because I already had all the washi tapes - all it took was hanging them on the tree!
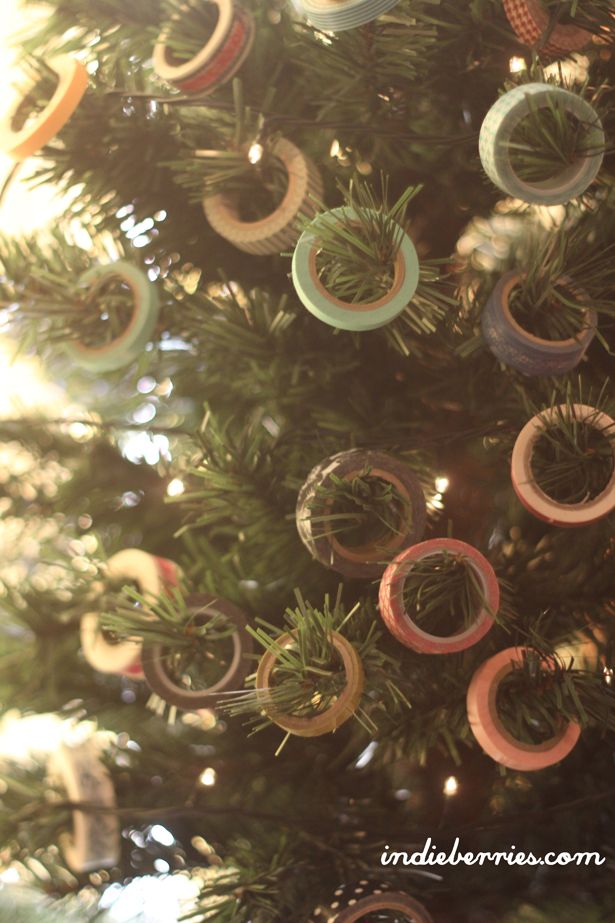
 photo washitapetree6_zpsa2914b91.jpg
We have a string of lights on our Tree - and it looks so pretty at night...
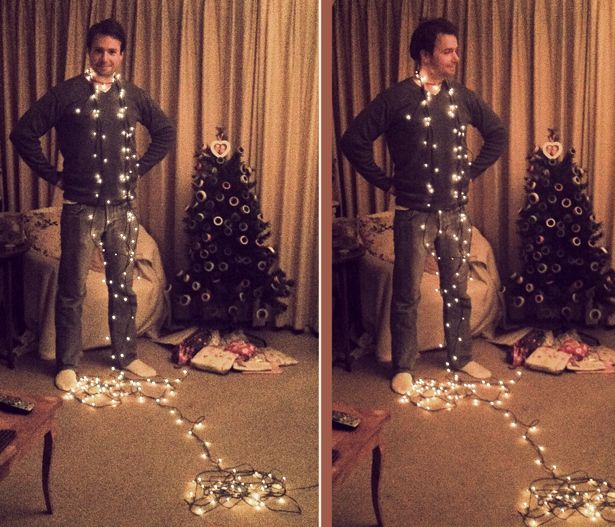
 photo washitape3_zps09bc85e9.jpg
I also wrapped Warren up in Christmas lights, because it's our first Christmas together as husband and wife - and isn't that what you're supposed to do?

 photo washitape4_zps1a0bff15.jpg

Season's Greetings everyone!
Hope you all have a very festive season!

Thank you all for all the love and support in 2013!
x

Tuesday, February 28, 2012

BINGO.

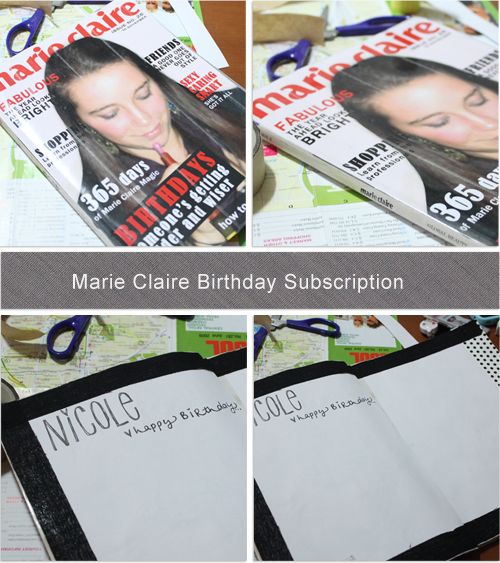
My lovely friend Nicole celebrated her birthday mid November last year and I haven't had a chance yet to blog about her celebrations. As a B-day gift I organised a year-long Marie Claire subscription for her. (Some South-African english magazines to be shipped to Korea~ woop!) This isn't a sponsored post - but the Marie Claire team were so helpful in answering my questions and replied immediately to my twitter questions. (@marieclaire_sa). Since the subscription I ordered would only kick in the following month - I managed to scout around Korea for (probably the only) english Marie Claire I could find. I photoshopped a magazine-sized page with Nicole on the cover and "article titles" relating to her and pasted it onto the Marie Claire magazine so that she had something fun to open.

Photobucket
I also covered up the first two inner magazine pages and made a space for everyone who had contributed to the subscription to write a note for the birthday girl.

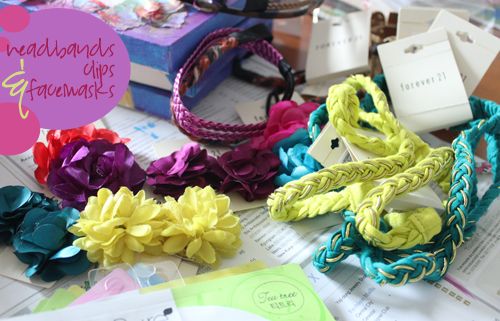
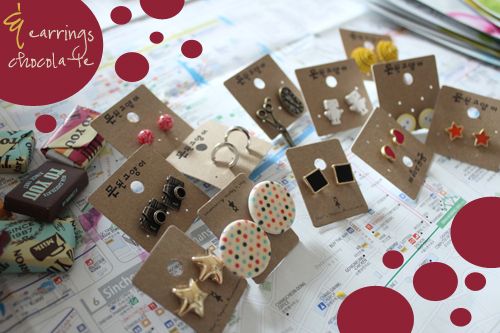
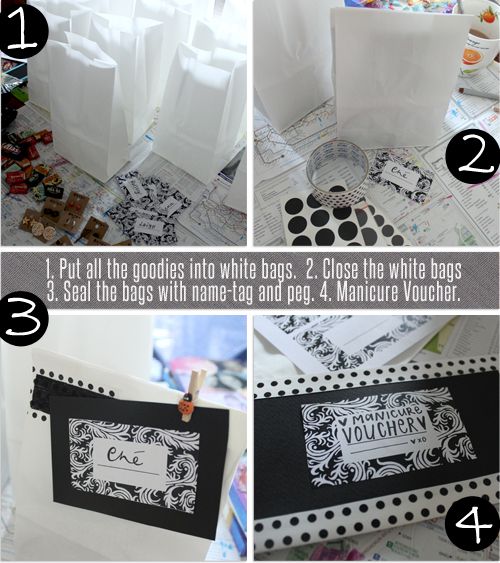
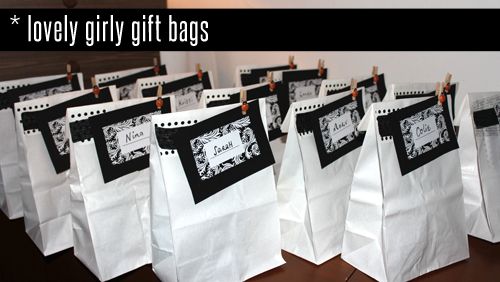
For Nicole's surprise birthday party we organised a fancy Black & White themed cocktails and snacks and I made some black and white decor gift bags for each of the girls. Each gift bag included a headband or hairclip, chocolates, facemasks and earrings.

Photobucket
Photobucket

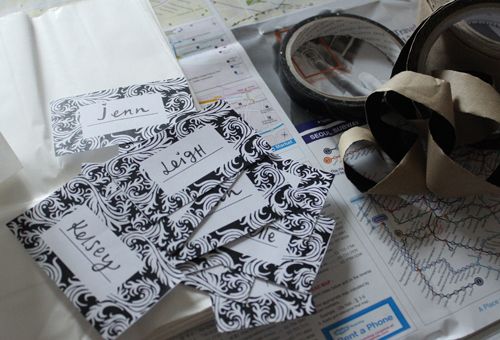
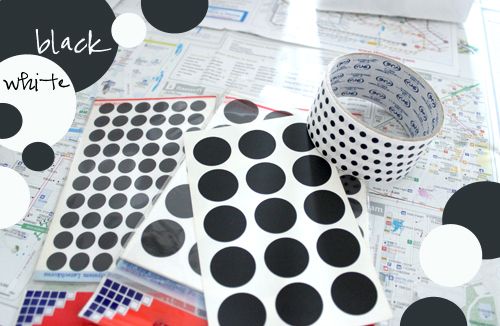
I designed black and white name-cards to put on the white paper bags and I bought black polka dot stickers to fasten the name-cards to the bags.

Photobucket
Photobucket
Photobucket


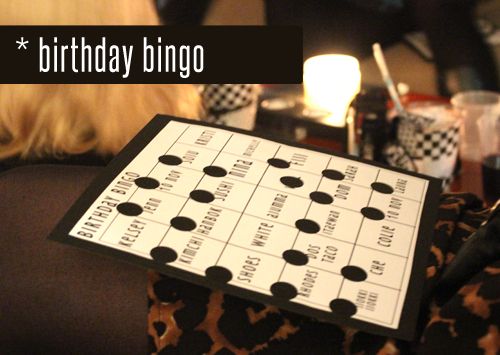
Along with the gift bags I also created a personal Birthday Bingo for everyone to play and had a Manicure Voucher as the first place prize. The Birthday Bingo Boards included squares with the names of all the party guests, favourite foods, drinks and funny memories. The cards we pulled out of the bag included clues to these answers such as "Nicole's favourite food" or "This person loves to dance on tables".  Anyone who had the corresponding squares on their boards placed a sticker over the block. The first person to complete a Bingo row was the winner. This game was really fun since some bingo clues allowed for decision making amongst the guests (ex: "the craziest person in the room" and we would take a group vote or ask around until someone fit the profile - a great ice-breaker game, FYI.) 
Below are a few party snaps:


Photobucket
Photobucket
Photobucket

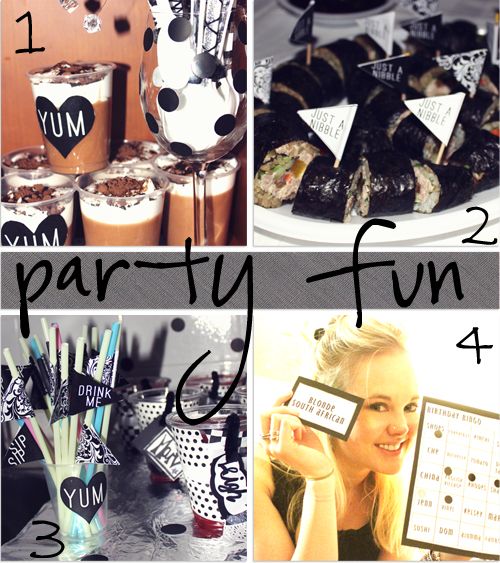
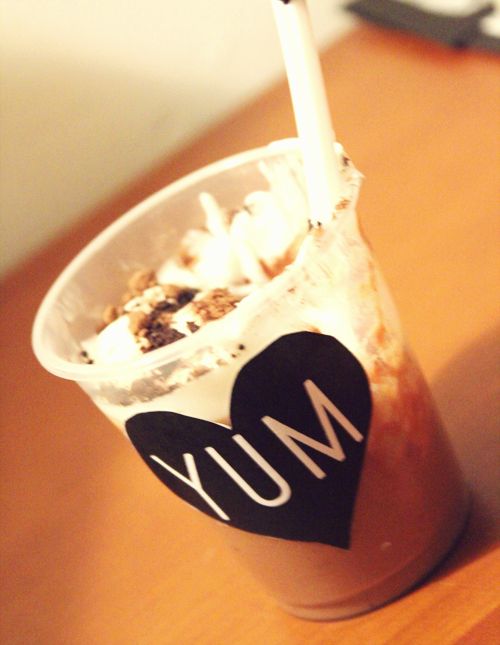
1. Individual Pudding Mousse in cups onto which we'd attached "yum" labels that I designed and also some black and white decorated dessert spoons.
2. Korean Kimbap with "just a nibble" toothpick skewers which I designed.
3. Some party decor I designed and the pretty cocktail cups which Sarah and I hacked up.
4. Bingo!

Photobucket

I have included a link to download the Black & White party decor I designed - CLICK HERE - in the zip file you will also find a 'How To' for assembling the different decor items as well as how to create your own Birthday Bingo. If you use any of them - I would love to see some pics! *enjoy!

Thursday, June 23, 2011

Fabric Rose DIY

I recently went back home to South Africa for my mom's birthday. (You can see the invitations I designed for her party here.) We had a celebration in a barn and little Miss Berries over here got the task of chief decorator. Lucky me. The theme for the party was very casual - "just jeans" So I decided to make some roses using denim, blue and cream fabrics. Here is how it went down:

THINGS YOU NEED:
  • A pair of scissors
  • Different fabrics
  • A thick piece of wire to make a stem
  • Thin wire to fasten the petals onto the stem. (Sticky tape is also ok.)

Photobucket
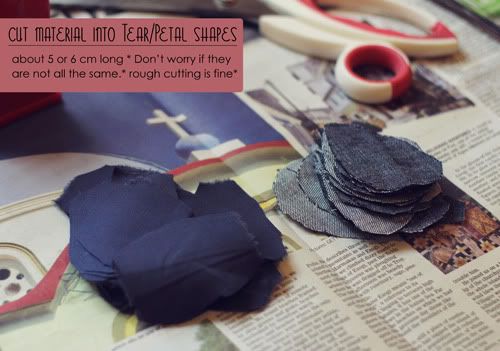
First step is to cut petal or tear-drop shapes out of the fabric. They don't have to be identical/perfect. You probably need about 15 per flower - depending on how thick your fabric is. If you are smart about this, you will get someone else to do the cutting for you. (ha) 
Photobucket
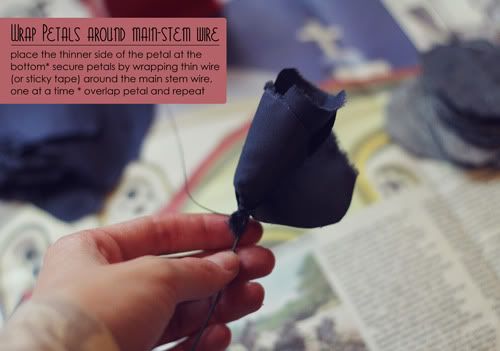
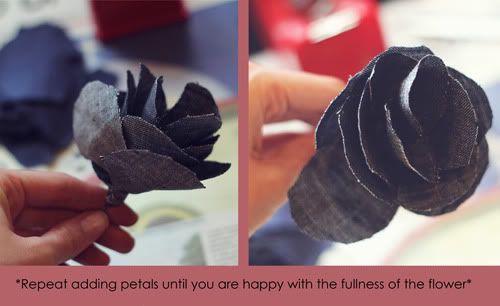
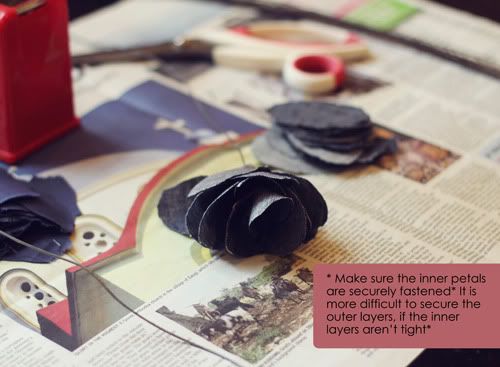
Next, you will need to take a petal-shape and wrap it around the main-wire stem. Secure the petal in place by tightly wrapping the thin wire around it. You can also use sticky tape, but I found that the wire ended up looking a bit neater. Once the first petal is secured place a second petal around the main stem, overlapping the first one and secure it in place. Repeat. Each fabric falls slightly differently - so experiment with the best ones. The stiffer denim fabric worked best for me, but it also depends on the look you are going for. (The Downside of using wire opposed to tape: after about 20 flowers, your fingers will be raw. {just saying})
Photobucket
Photobucket
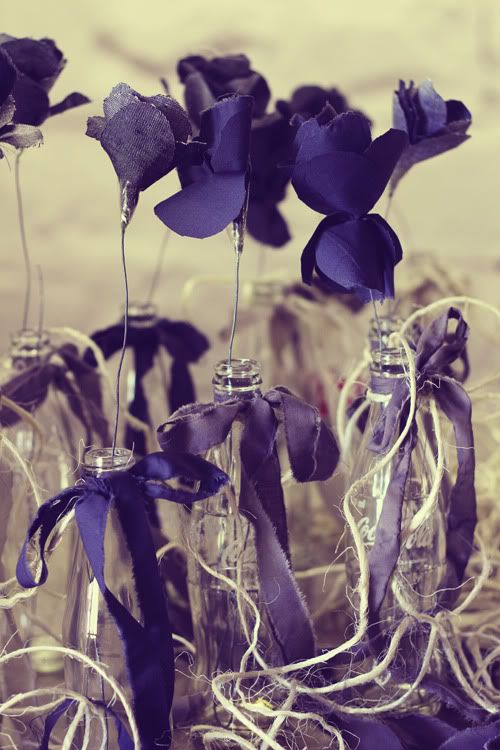
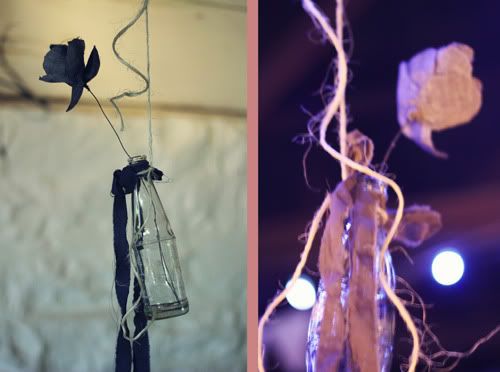
It's up to you what you choose to do with your flowers. I found some old-school glass coke bottles and stuck a single one in each bottle. I tied some of the fabric scraps and string around the neck of the bottles and then hung them from the rafters in the barn. They look really effective when there is a whole line of them hanging together.
Photobucket
Photobucket
(yes, i know the pic on the right is completely blurred... but i like it. so... yeah.)

Tuesday, June 21, 2011

Bunting DIY

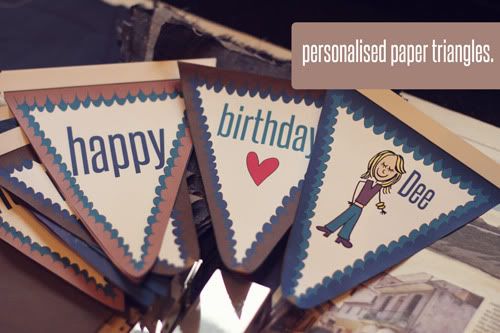
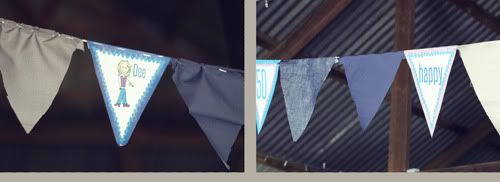
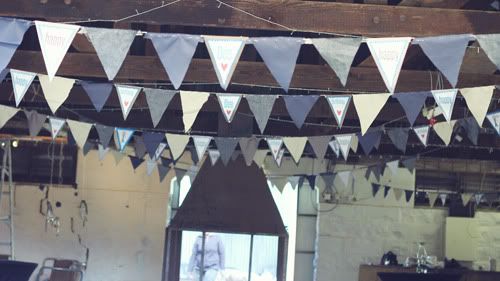
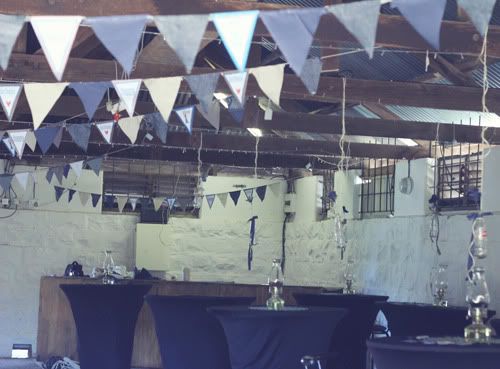
The mom's birthday was held in a barn and I got the "prettify-the-barn" job. I wanted to make some fabric bunting, with a personalised twist so I designed some triangles to be printed out, alternating with the fabric bunting.

Fabric Bunting DIY, Let's Begin:


Photobucket
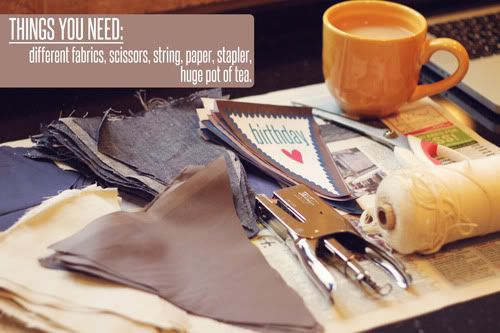
To make this (ghetto) version of bunting, you will need:
  • Pair of Scissors
  • Long fabric triangles
  • String
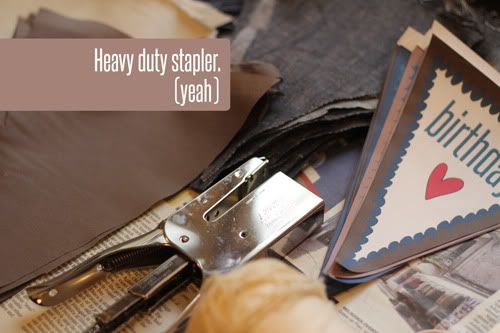
  • Stapler (For the non-ghetto version, you can use a sewing machine)
  • Big mug of tea (optional/recommended)
The first step is to cut your fabric into long triangles roughly the same size and shape. 

Photobucket
I wanted to make the bunting a bit more personalised so I created some triangles with cartoon images and  birthday messages which I printed out- the same size as the fabric triangles.
Photobucket
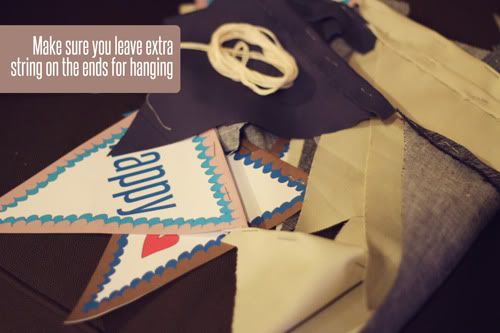
Once you have a pile of different coloured fabric triangles -you can attach them to the string by folding the bottom flat edge of the triangle over the piece of string and stapling it. Alternate the colours of fabric and the paper triangles if you have any.
Photobucket
Finally, hang up the bunting and voila everything is pretty.
Photobucket
Photobucket
Photobucket
Will be posting soon about DIY Fabric Roses that I made for the party too - 

Wednesday, March 2, 2011

Kapas

Kapas is a company started by Kerryn Tremearne, an old school friend of mine - "Kapas" is the Hindu word for cotton and the company imports gorgeous Indian cottons to make cushions and headscarves and their line is continuously growing... You can find Kapas goods at the i heart market in Durban and at selected decor stores.


I recently did an interview over at Kerryn's Blog - check it out here.