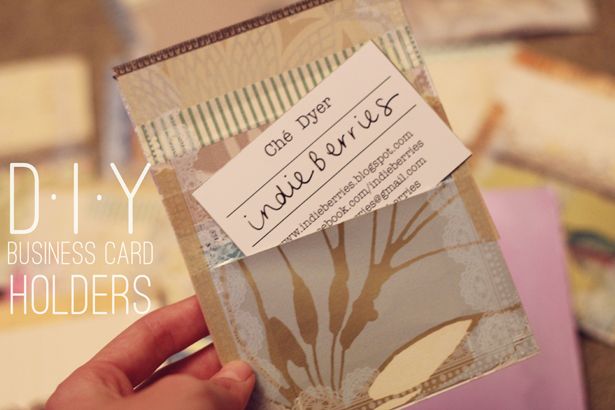
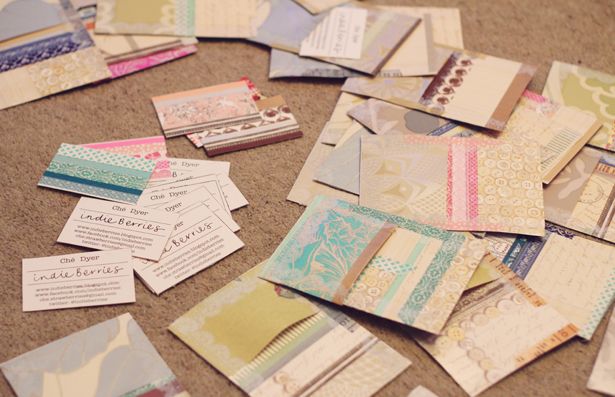
At the end of last week I attended The Blogcademy at Curtain Road Studio, London. My head is buzzing with all kinds of amazing ideas and inspiration - so while I buy myself some time in planning how I am going to implement these new ideas/changes and direction to indieBerries - I thought I would share the business cards that I created to take to the two day workshop.
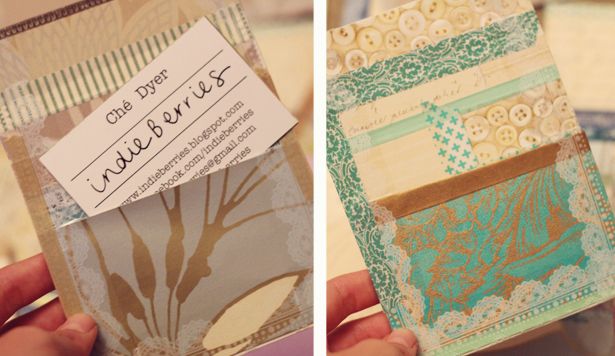
I wanted to create a "business card package" - something that would be useful to the Blogcademy students - something that they could carry around with them whilst collecting various business cards from others, something that was hand crafted, fun and cheerful. Something that would stand out and become a talking point.
And so, the "indieBerries Business card holders" were born.
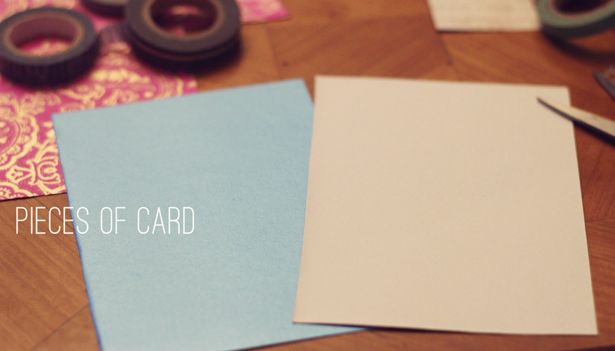
I started with pieces of brightly coloured card - A6 size (or a quarter of an A4).
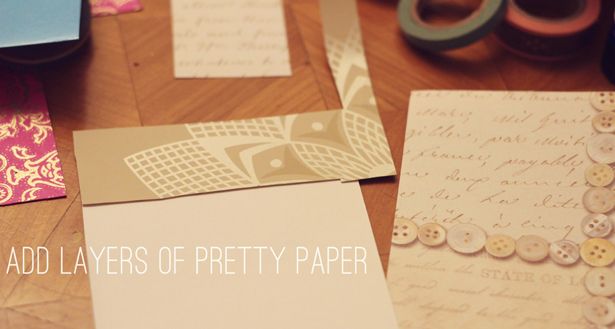
On the blank sides of the card I added strips of pretty scrap book papers.
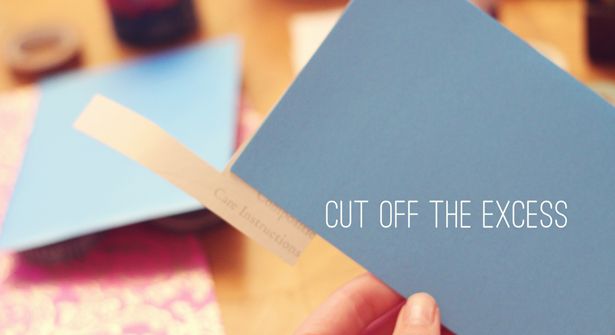
(Knowing that I had quite a few to make, I wasn't too fussy with measuring everything out perfectly. I glued the scrap pieces onto the cardstock and cut off the excess afterwards. Super time-saving)
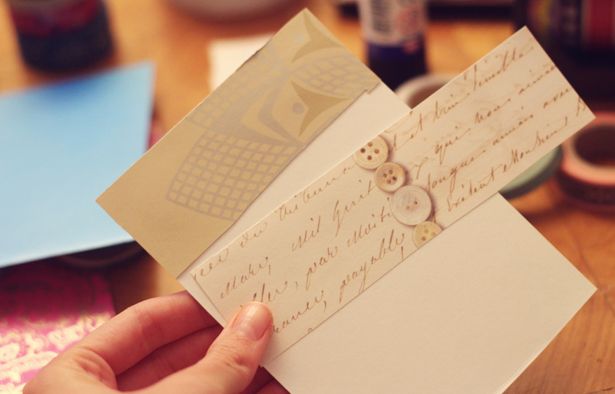
(above: Don't worry if your paper scraps aren't exactly straight - you can layer the in between bits with Washi tape)
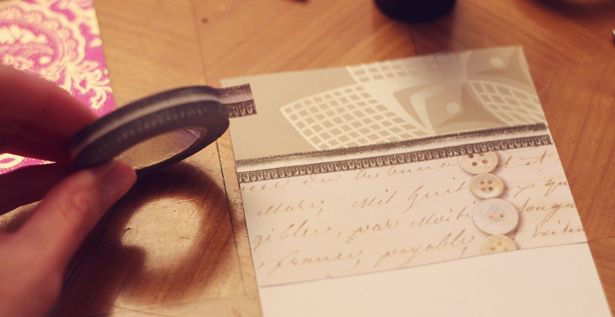
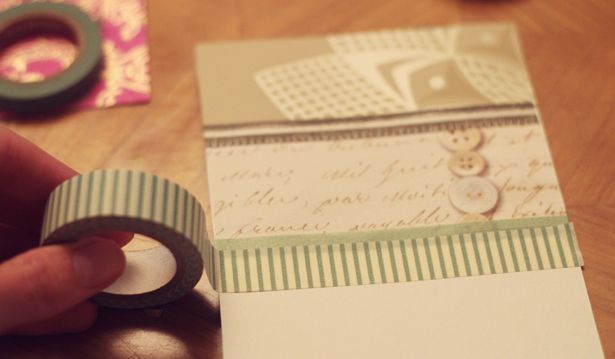
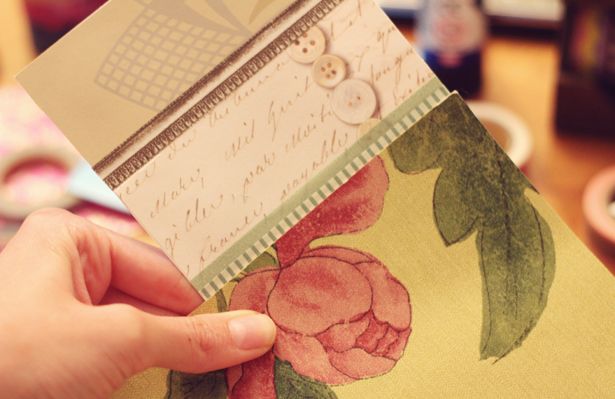
Next you need to create a little pocket - this is where the user will be able to stick all the other business cards that they receive. To do this, cut a piece of paper down to the size of your card stock.
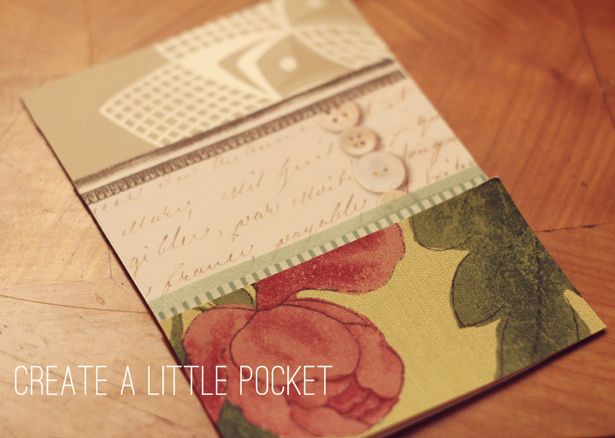
Tape up your pocket on three sides of the paper, leaving the top part open.
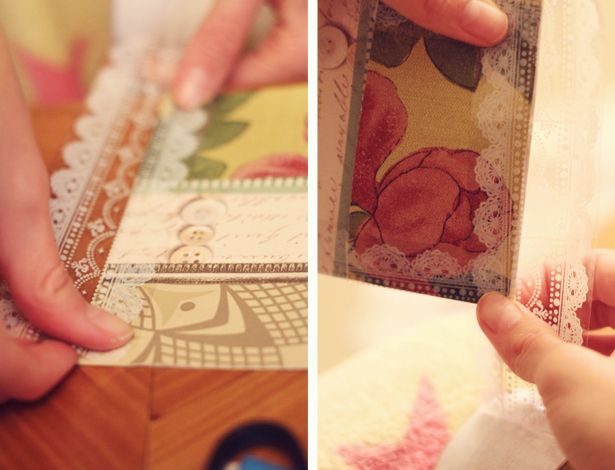
You may find it easier to hold the tape between your knees and then stick the card stock onto it. Otherwise, lay the card and the pocket onto your table and stick down half the tape over the length of the card.
Use a broad piece of tape to secure the pocket - this is so that you can fold the tape over the back and it can be taped on both sides.
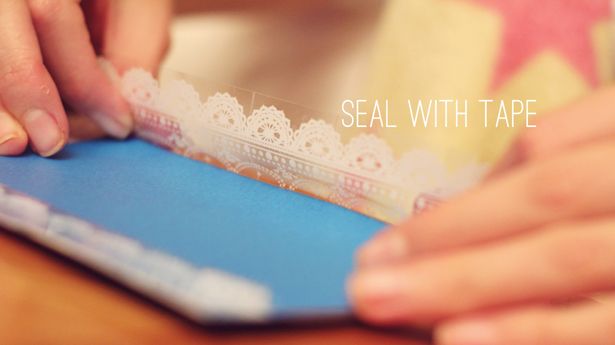
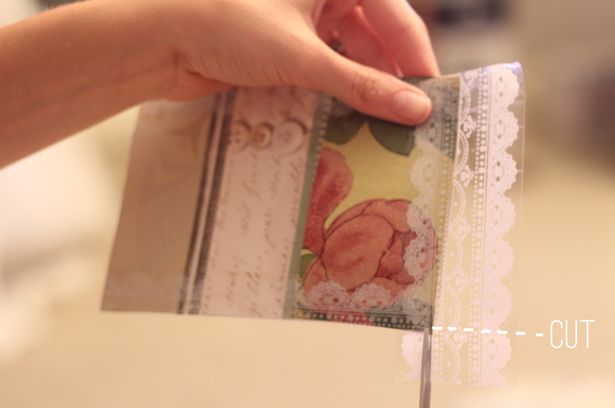
Cut a small square out of the excess tape, this is so that you can fold the tape over and seal it at the back. Similar to if you were wrapping a present.

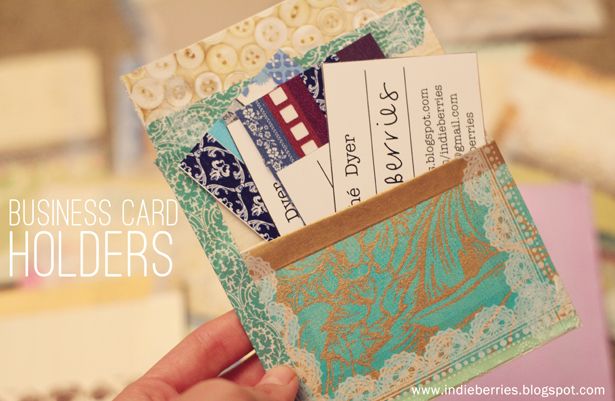
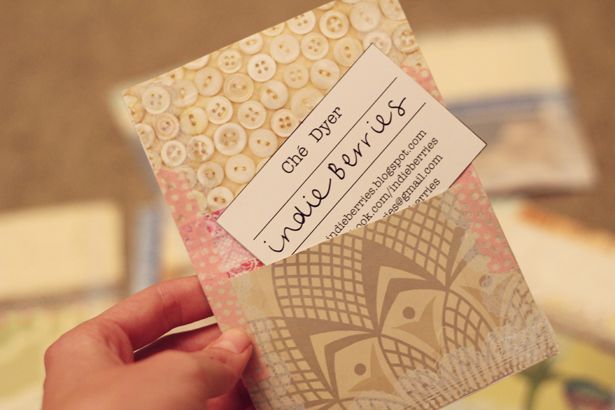
Once you have sealed up the pocket you can whack in as many business cards as you like in your very hand business card holder.
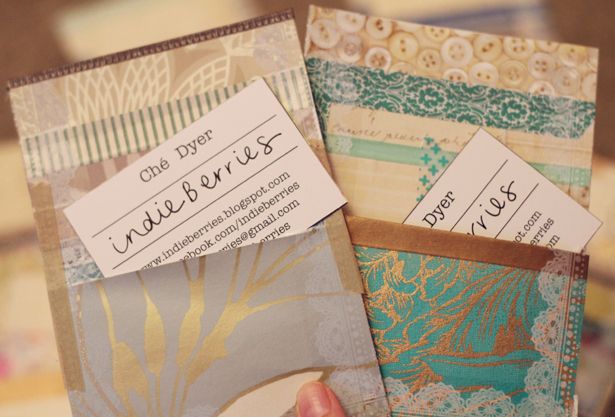
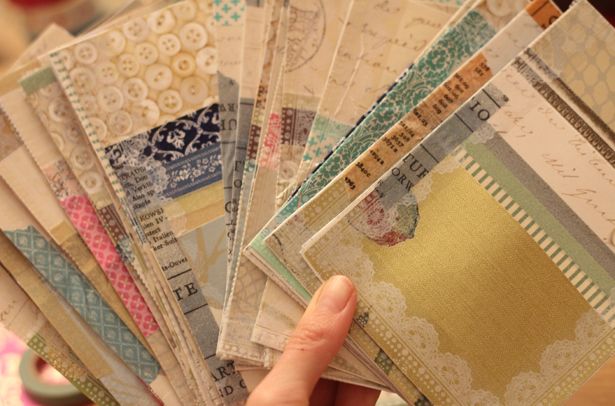
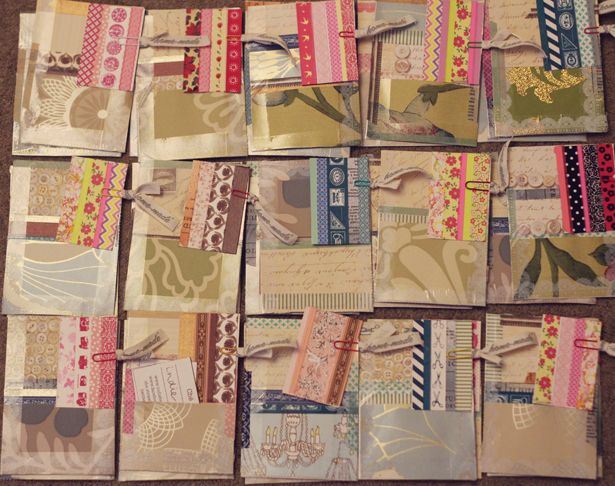
I had to make quite a few - so it was really fun to get into it and use all the different mix-and-match combinations.
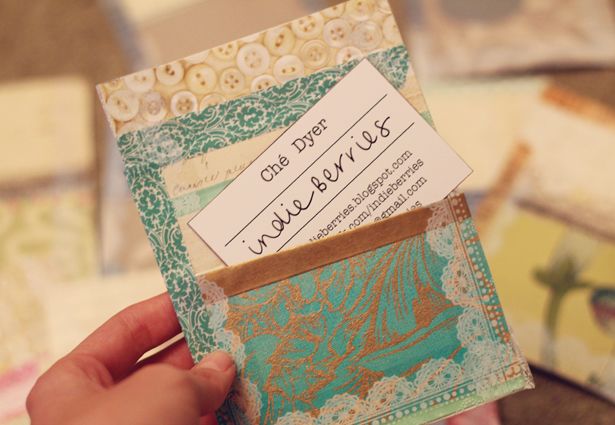
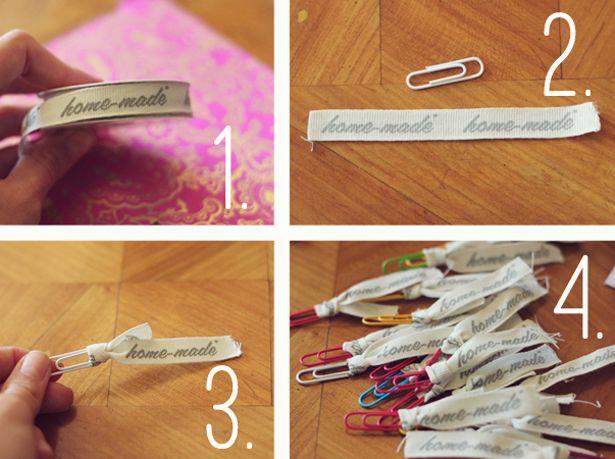
I wanted the business cards to have a personal/hand crafted feel so I found some "home made" ribbon - cut off tiny strips of it and attached it to a paper clip.
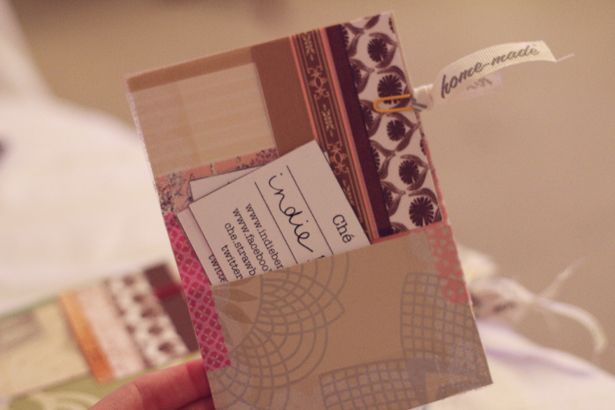
I then clipped the paper clip onto one edge of the business card holder.
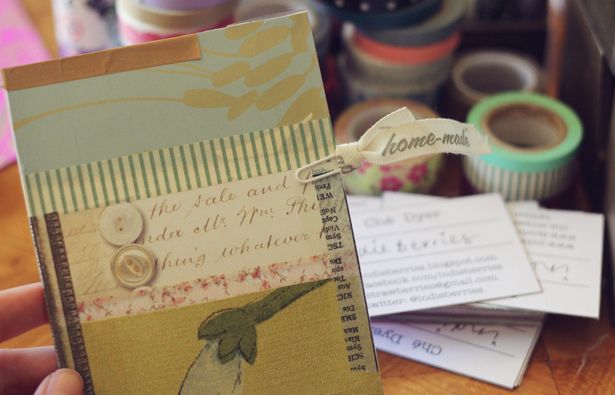
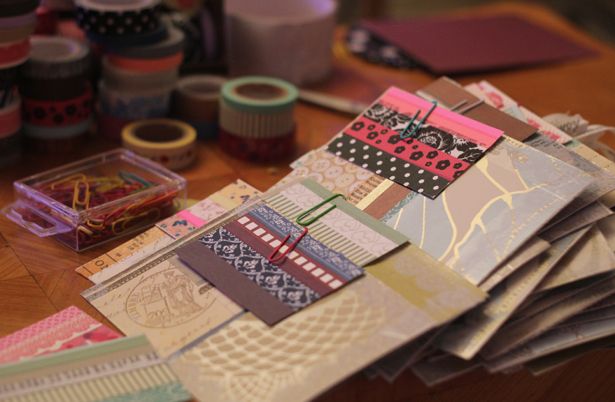
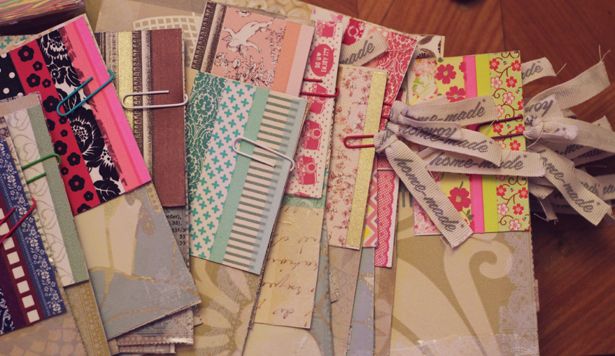
I used the paper clips to attach my washi tape business cards - then when I handed them out to people at the Blogcademy I could explain that the little pocket in the front of the cardstock could be used to help keep all their collected business cards in one place. They were a great hit!
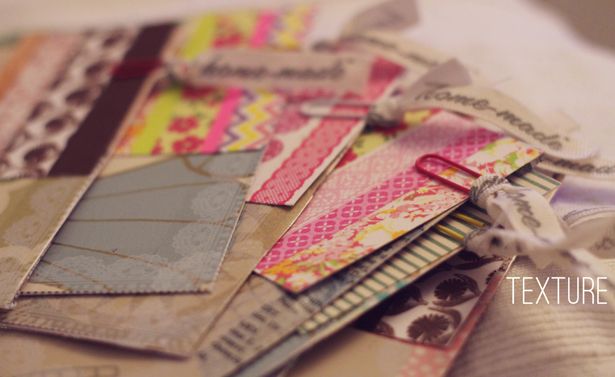
I really loved the variety of texture and colours that these business card holders had. One of the nice things about having a mix and match business card set is that people can then choose which one they like the most - which is also great fun.
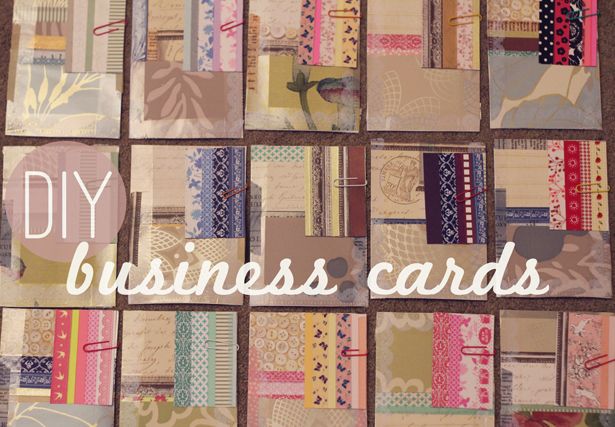
By the end of the first day I had people coming up to me asking for my business cards -
so I'd say, that'd be -
Mission Accomplished.
I also had another little something which I attached to these business card holders. I left a little sneak peak in my instagram feed and I will be posting about them soon, so look out for them!
I also had another little something which I attached to these business card holders. I left a little sneak peak in my instagram feed and I will be posting about them soon, so look out for them!

17 comments :
these are lovely!
Amazing!!
so pretty!
I recognise some of those papers! I knew they went to the right home :)
Love love love! X
they came in SO handy! thank you! <3
They're awesome and so beautifully done.
Godammit, I hate clever creative people like you. It's just not fair to the rest of us.
Regards, bitter&twisted.
haha you can do it too! :) it's so very easy - i promise! :)
Yes, but it takes someone like you even to THINK of doing it. :-)
These are absolutely gorgeous...thanks for showing us how to make them! I don't think mine will turn out as pretty as yours did :) Mwah xxx
WOW so pretty!
LOL - Gaby, I was going to make the exact same comment - also sent some Che's way ;)
I'm with you Kat. SO ANNOYING.
(secretly a little bit in love with you and washi tape now Che)
I know!! thank you so much!!! they've been SO handy! x
Great resources of business card design, You use some creativity in your design. One of the most and significant thing is you nicely executed your whole article.
thank you very much for your kind words.
Post a Comment