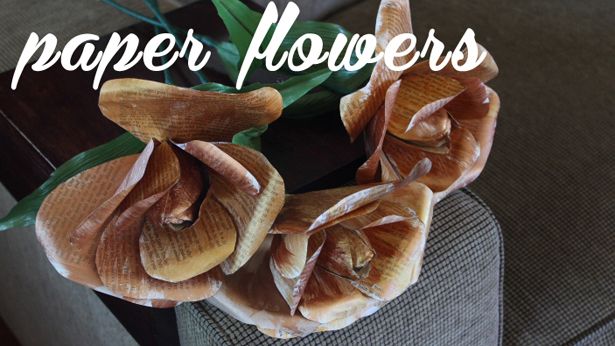
Even before I was engaged I had joked with my friends that I would always have paper flowers at my wedding. I'm way more of a "papery" person than a "florally" person - so I guess it just seemed fitting. When we decided on our general "Moroccan-esque" wedding vibe - I was sold on the idea of making my own flowers so that I could bring in lots of golds, coppers and bronzes. Because I don't know where you can get real flowers that are in those kinds of rich colours.
My paper-flower making adventures started with a lot of guesswork but I will tell you some essential things you will need if you attempt them -
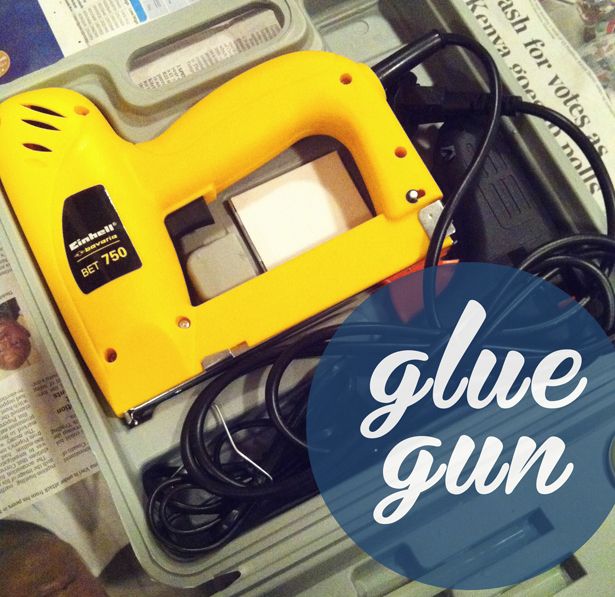
- A Glue gun. It is essential. Nothing else will really stick your flowers well enough.
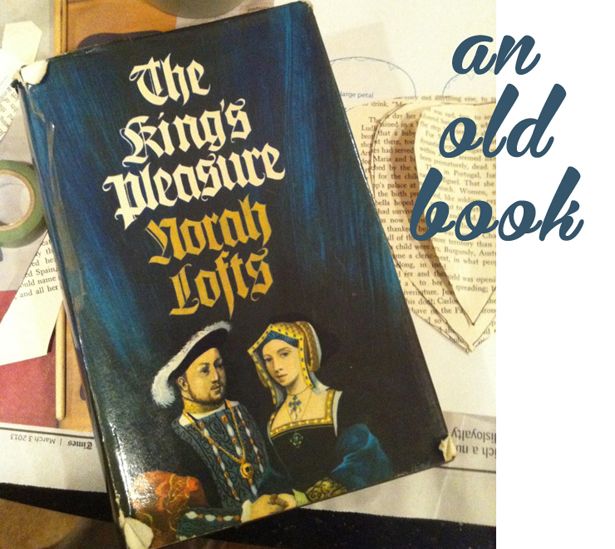
- Paper - I used pages from an old book I bought at a market
- Florist Tape (and washi tape)
- A wooden dowel rod (or a stem-like "something" that you can attach your petals to)
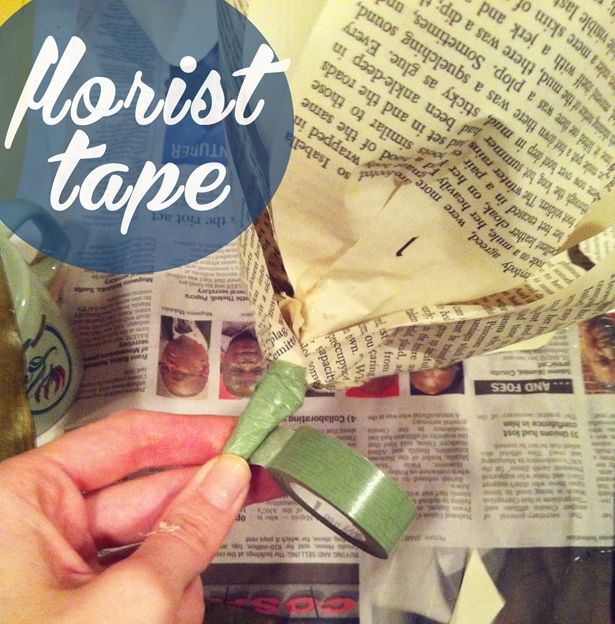
(Pictured here is not actually florist tape - I used washi tape to cover the florist tape underneath. Florist tape is good because it is really sticky and stretches well over different surfaces. It's also really inexpensive and can be purchased from any local garden/florist shop)
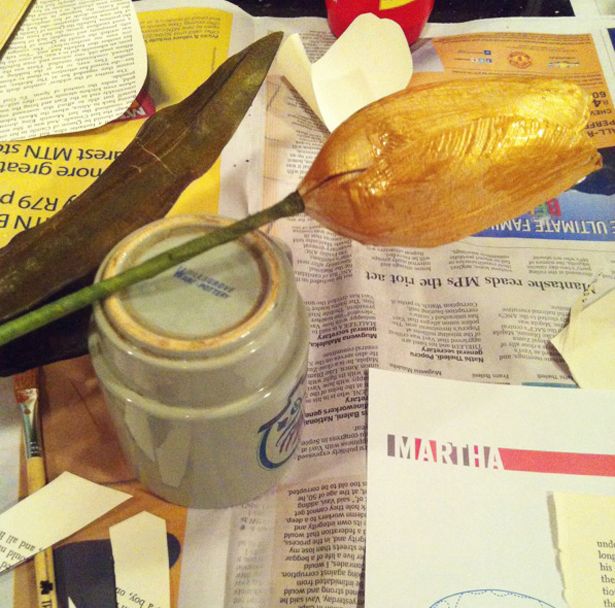
When you are making your flowers you will also need something to stick your flowers onto - like a thin wooden dowel rod. My mom happened to be throwing away a bunch of very old plastic flowers so I
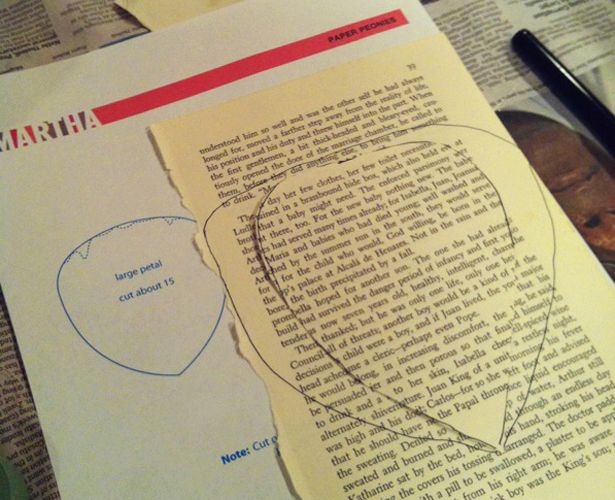
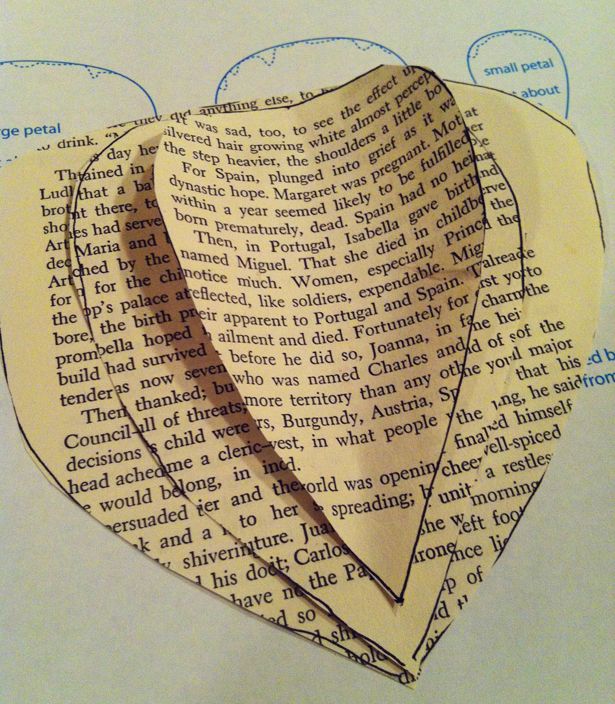
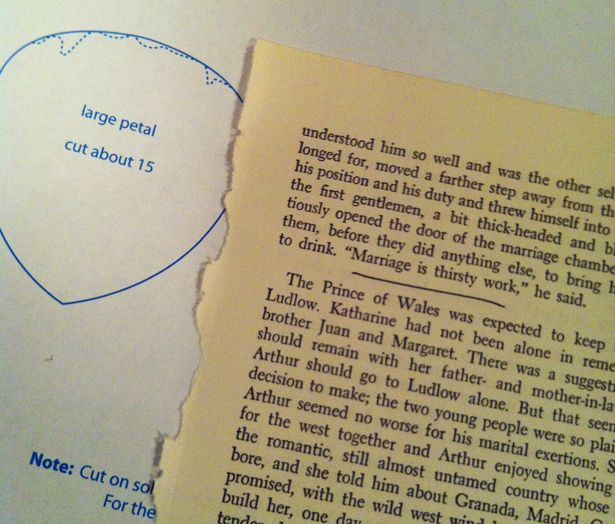
I attempted a few flowers using a bit of guesswork and the first one came out pretty well - but if I wanted them to look "kind of" similar I needed a proper petal template so I googled a bit and found this one from the Martha Stewart website.
Martha has a whole long other process about boiling your paper and making mulch and then letting the mulch set and then blending it to a pulp and then spreading your pulp onto a cookie tray...and then... Whatever. She's just being dramatic. You don't need all that.
I did however use her petal templates as a rough guide for cutting out my own petals - (And to be honest, I didn't even use her templates - I just got an idea of the rough shape of the petals and then drew my own templates. You really don't need Martha. Just sayin'.
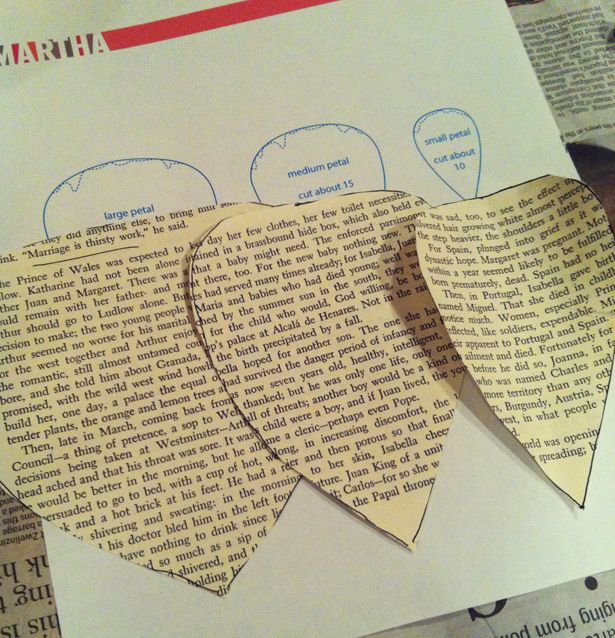
The basic thing is that the petals get wider as you get further out.
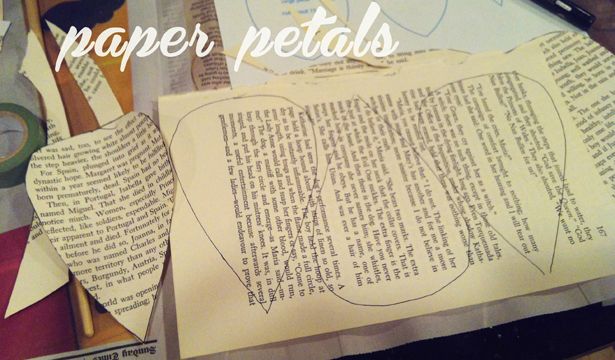
Of course I also found it hilarious to scan each page of the novel I was hacking up and highlight any phrases pertaining to marriage. lol
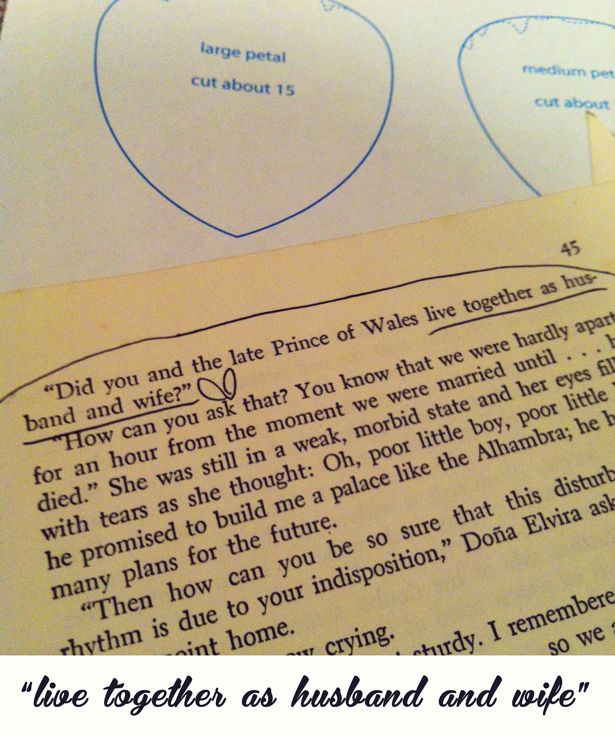
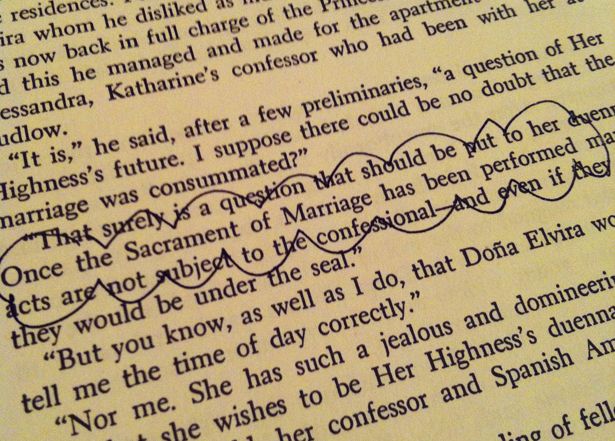
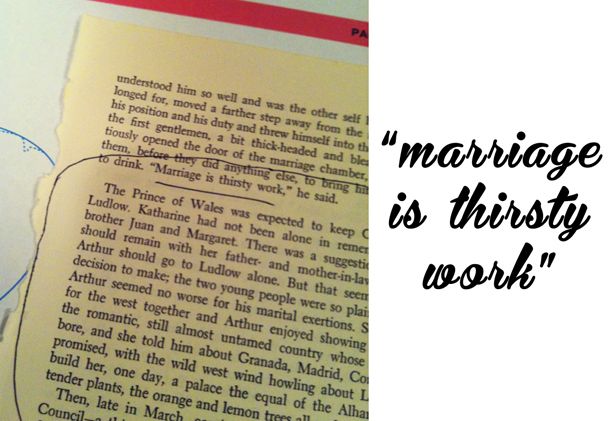
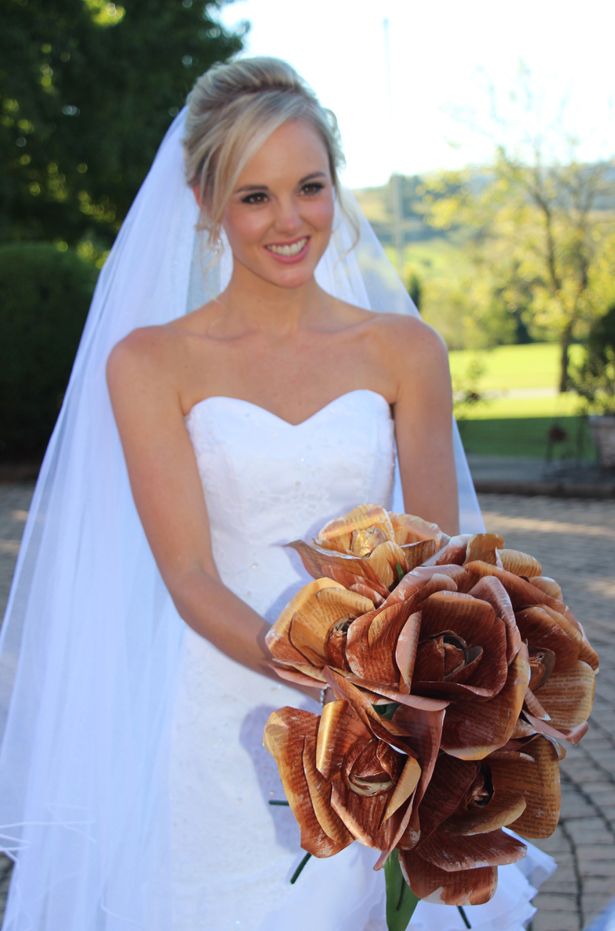
Yep - all those hilarious little marriage quips - right there in our wedding flowers.
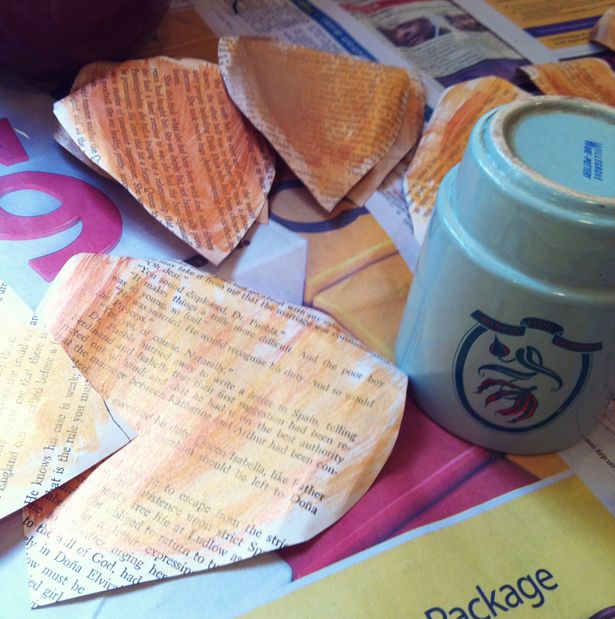
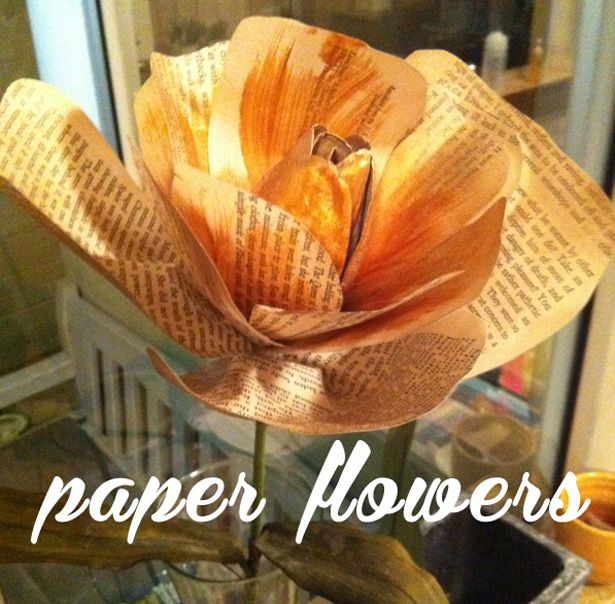
I painted the petals in different shades of bronzes, coppers and golds. I wanted there to be a lot of texture in the flowers so I let a lot of the words show through in most of the petals.
I wanted to get the pages to curl up slightly so that they had a more natural look rather than being very flat and "paper-like". I tried a few different techniques to get this right - including the very scientific "wet the pages, put then in a spoon rest with a lemon on top and hope they dry in that shape" -
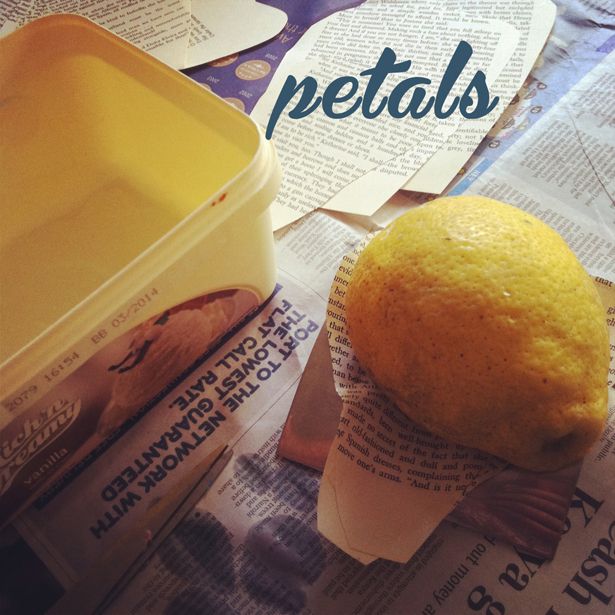
Nope.
That didn't work.
But it was good in theory.
But it was good in theory.
I found what worked the best (and also easiest) was to take each page and curl it around a pencil/chopstick/back of a paintbrush in the direction you want it to curl - you can curl them as much or as little as you want depending if you want your flowers more open or more closed -
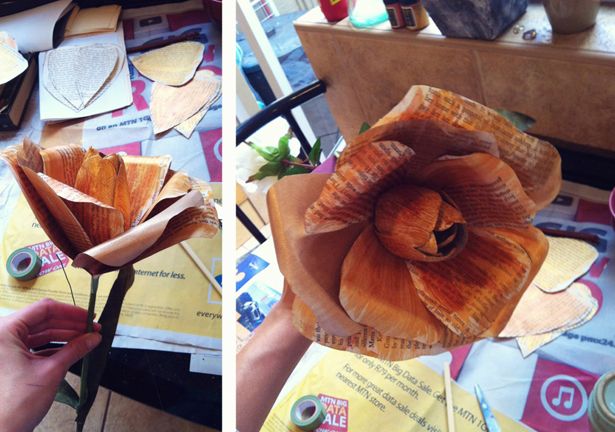
And from then you just start sticking the petals onto your stem starting with the smallest petals first and working your way outwards using the glue gun at the base of the petal. The good thing about using a glue gun is that the glue dries pretty quickly. Once you are finished sticking all the petals you can wrap the stem with florist tape or washi tape to hide the glue.
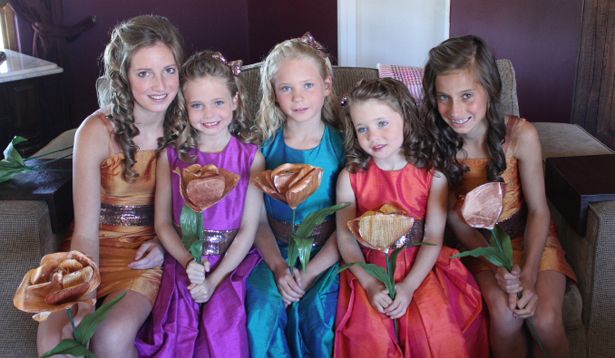
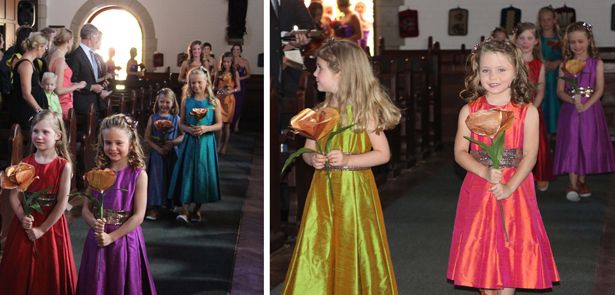
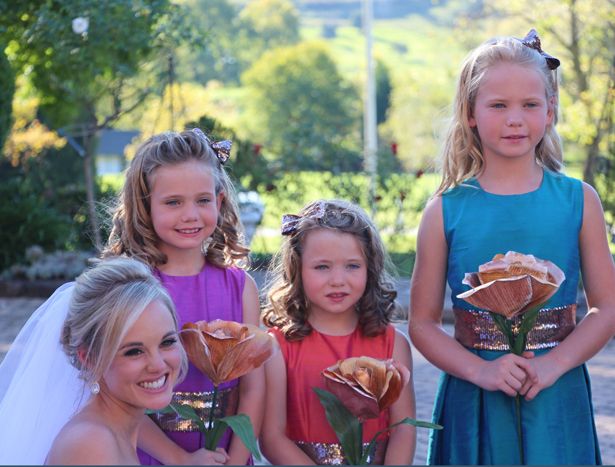
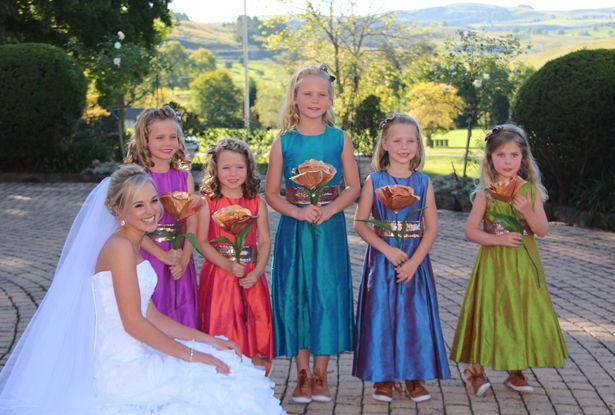
Was very pleased with how they turned out - all my flower girls and junior bridesmaids each had a big bronze/coppery paper flower to hold as they walked down the aisle. (The bridesmaids and I all carried "real flowers" because like... yeah, it's a wedding and I couldn't escape it)

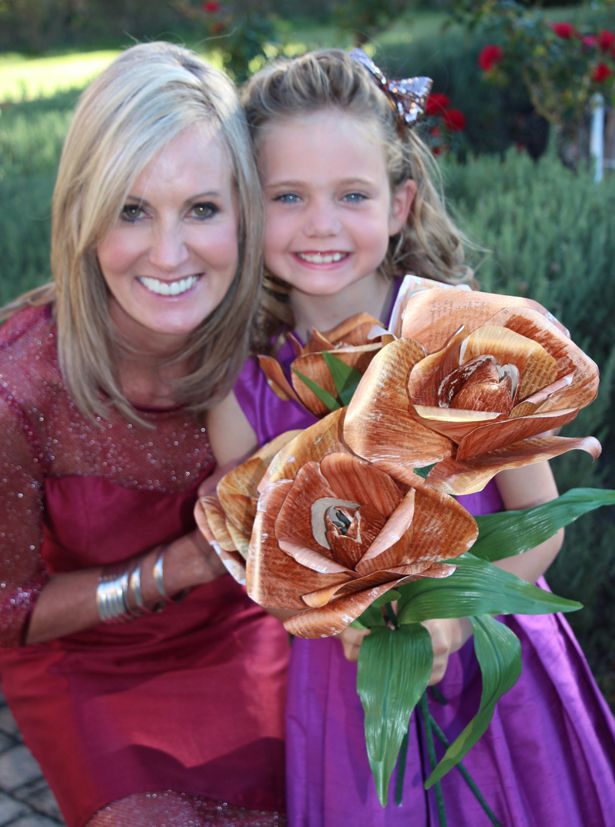
My mom, my little cousin and my paper flowers - all things so beautiful in this picture!

7 comments :
Wow, those are so pretty! Well done!
totes gorge!
That came out gorgeous! Talented lady you are!
Hey Che. I have been reading your blog for a while, I'm was also born in Durban and am now living in Cape Town. (Not as cool as London:p) Just want to let you know that I love your blog and you have inspired me to start my own blog, www.abumblebooblog.blogspot.com. and I have you listed as one of my favourite blogs. \
ah yay! glad you've been inspired to start your own blog! :) thanks for adding me on your list of faves :)
They turned out great!! Just pinned these :)
thank you! :) they were such fun to make!
Post a Comment